
Securing the file data is an important routine. One of the ways to do that is to limit access to certain people. With Webuzo File Manager, users can change the file permissions so those authorized can view or edit these files.
To Change Permissions using File Manager
1. Log in to your Webuzo user account.
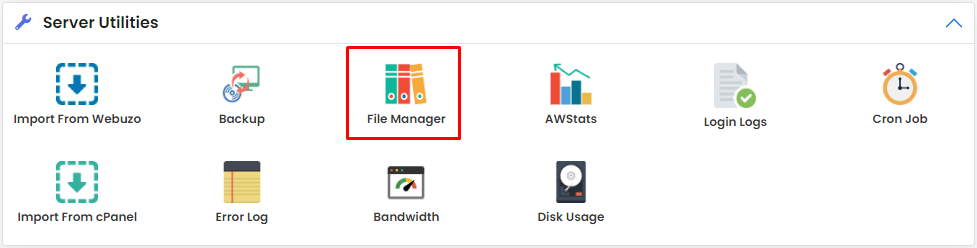
2. Go to the Server Utilities section and click on File Manager.
The File Manager interface will open in the new browser tab.
3. Browse and locate the file whose permissions you want to change and right-click on it.
A menu will appear.
4. Select the Change Mode option.
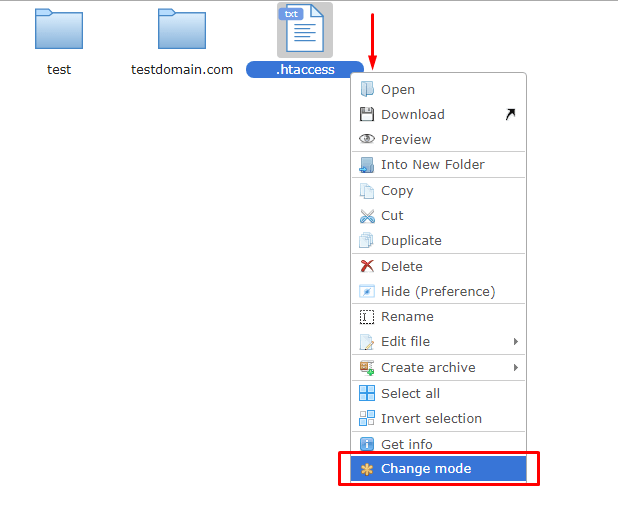
The Change Mode window will pop up.
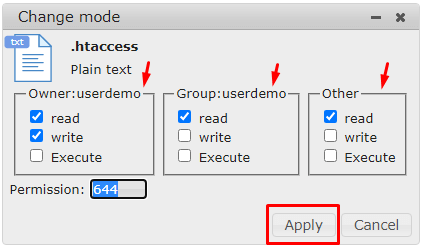
5. Assign/change the file permissions(Read/Write/Execute) for:
- Owner: Main handler of the user account.
- Group: Users with access to subdomains but not the hosting account.
- Others: Users who have no access to user account or subdomains.
6. Click Apply.
The new file permission will take into effect right away.
Webuzo users can deploy the same procedure to change the permissions of their web files using the File Manager tool.
Warning: Please do not change the file permissions of important web files like htaccess as it may threaten the overall security of your website. We recommend you keep Permission 644 for these files to keep their status classified from unauthorized users.


