
Watch this video for a step by step process on How to Customize the Evolution Skin in DirectAdmin
The evolution skin is a highly flexible interface of DirectAdmin that you can freely customize. It has a variety of options for you to change the accessibility of tools and other settings at a reseller level, like modifying sections, icons for user accounts, resellers or admin. However, it is better to leave that stuff for the pros to handle. That is why we will be showing you how to change the appearance of the interface.
To Customize the Evolution Skin
1. Log in to DirectAdmin with your reseller account.
2. Go to the Reseller Tools section and click on Customize Evolution Skin.

A panel with multiple configuration sections will appear. As a reseller, you will have access and permission to change most settings available there. We will get through each of the tabs one by one.
Customize the Evolution Skin
Misc. Options
Short for Miscellaneous Options, it has various options to change the appearance of the panel interface.
- Default Layout: Select an arrangement for the DirectAdmin tools. We recommend you go with Icons Grid as it is more familiar to most users.
- Theme Mode: There are two modes for the DirectAdmin interface Light and Dark. There is a third option, Automatic/User Select, that leaves things to your discretion.
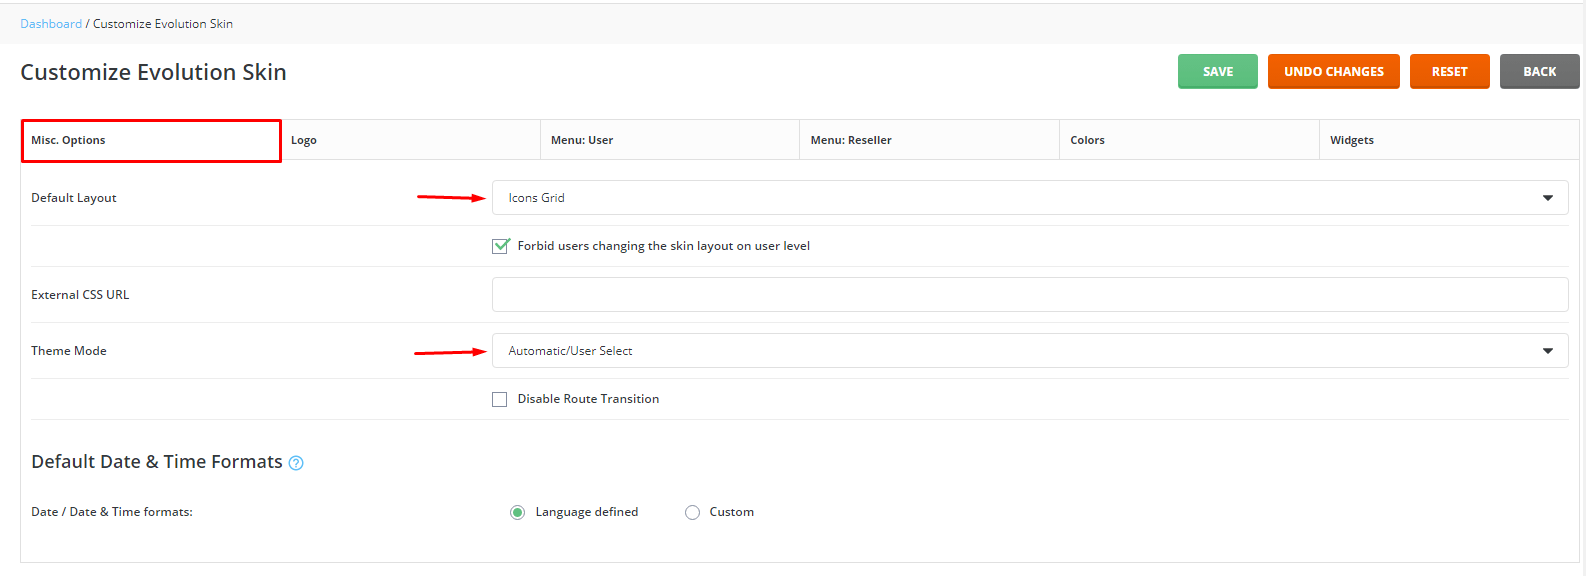
You can allow individual users to change the skin layout by unticking the Forbid users changing the skin layout on user level. It is better to leave it the way it is. If not, you will have a tough time navigating the interface when taking over the user account.
Logo
This section allows you to change the logos for the interface.
1. To change the logo for a particular field/option, click the X symbol beside the logo image you want to replace.
![]()
It will remove the logo image from the field.
2. Click on the box and upload the image from your local machine.
![]()
The image will appear in the field box.
3. Click the UPLOAD button to complete the process.
![]()
You can repeat this process to change the logos for any other field.
Currently, the evolution skin of the DirectAdmin panel offers five fields for the logos:
- Default
- For dark mode & sidebar layout
- Favicon
- Symbol
- Symbol for dark mode
The other sections are to customize the Menu for User or Reseller accounts. We will skip them and move to the Colors tab.
Colors
Here you can adjust or change the colors for notification windows, messages, etc. based on their type/nature.
The types are categorized as:
- Primary
- Safe
- Danger
- Neutral
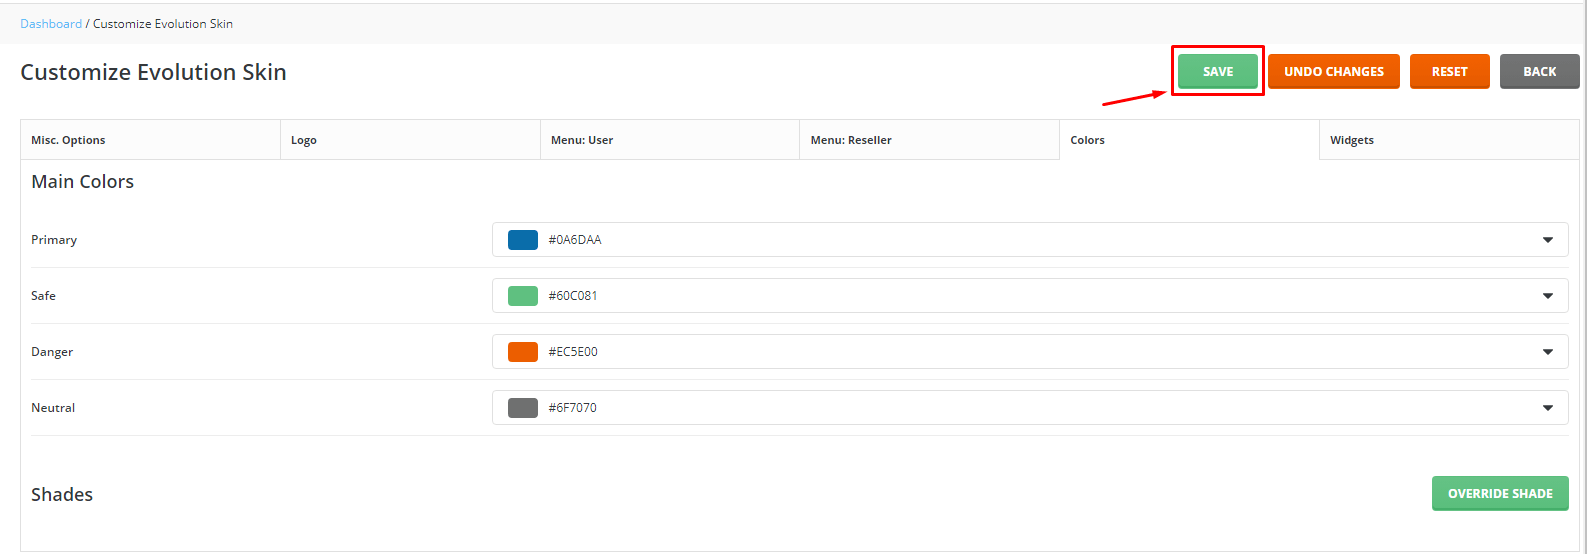
After making your changes, click the SAVE button and, it will be over.
If you want to customize the Menu, we recommend you contact support to handle it. The same goes for the Widgets section.


