
Watch this video for a step by step process on How to Do DNS Management in Webuzo
DNS or Domain Name System is the universal identification structure for all websites and their domains. It should be natural that Webuzo offers tools so the users can perform DNS management for their hosting. We will see how you can add, edit and delete DNS records in Webuzo.
To Add DNS Record
1. Log in to your user account of Webuzo.
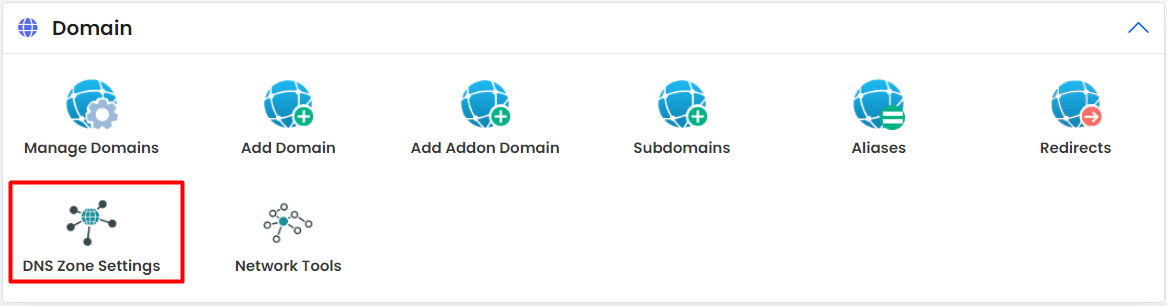
2. Click on DNS Zone Settings in the Domain section.
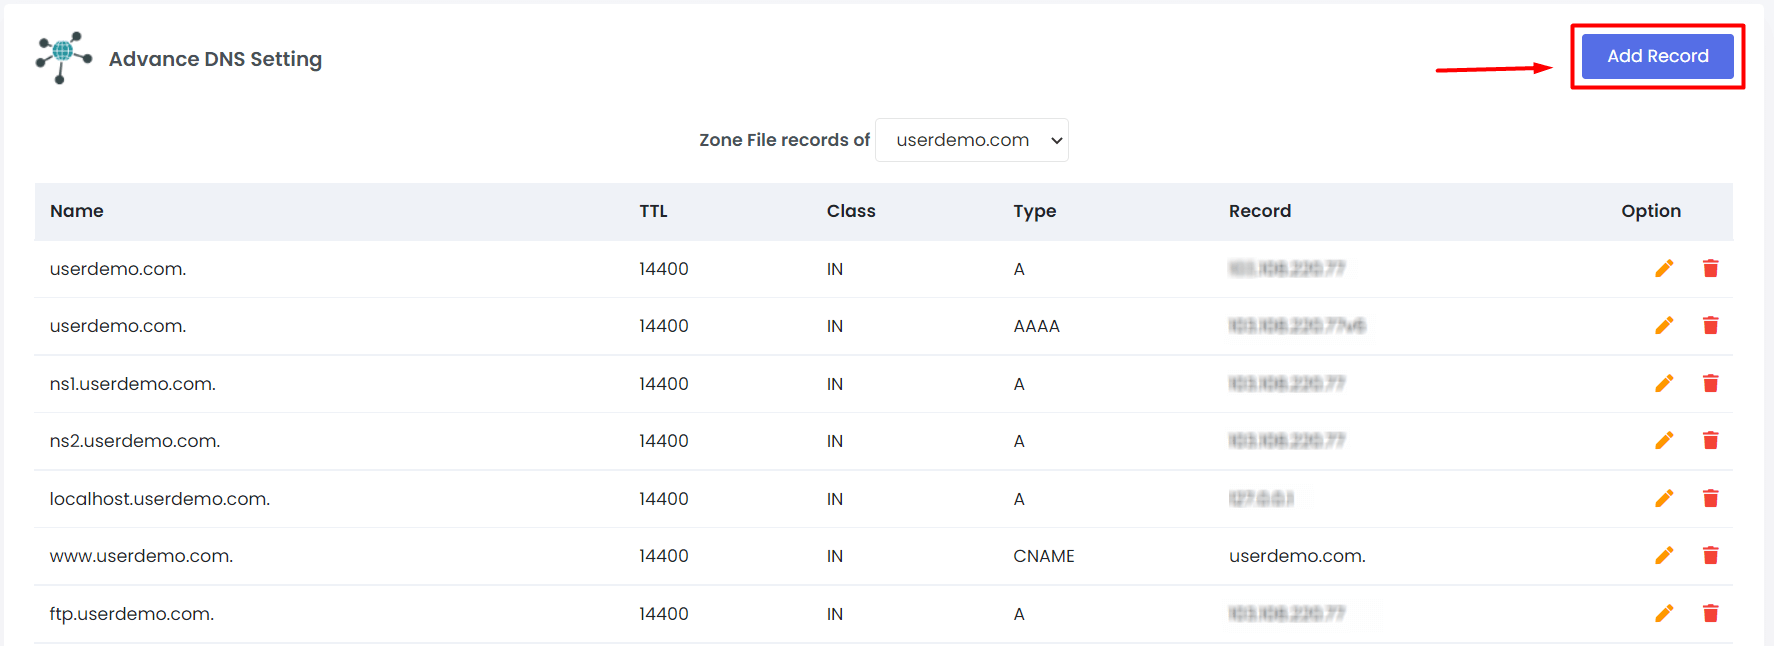
The Advance DNS Setting panel will open, displaying the DNS records for the user account.
3. Click the Add Record button.
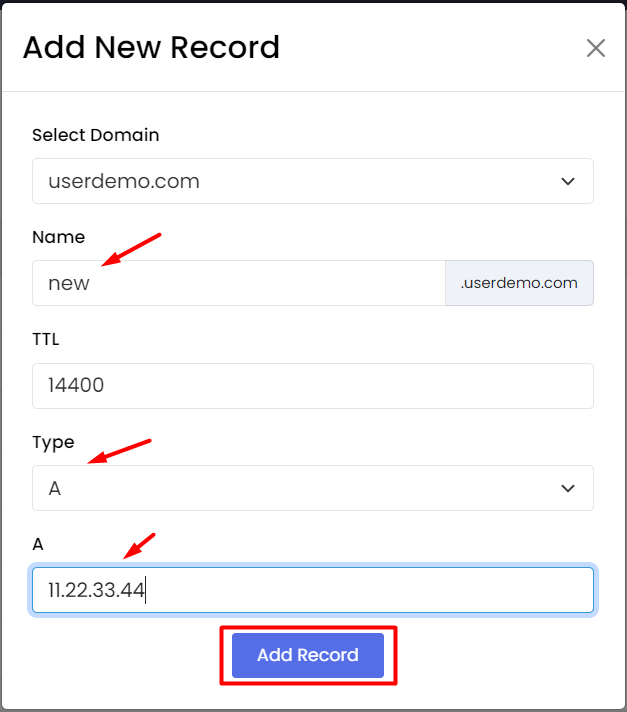
The window will pop up where you can enter the details for the new DNS record.
Here is a short summary of the fields you need to fill:
- Select Domain – Select the Domain to Add the DNS record.
- Name – Enter the name of the record.
- TTL – Short for Time To Live. Enter the time to keep the Record activated.
- TYPE – Choose the TYPE of Record (from CNAME/A/TXT)
- Address – Specify the target of the DNS Record (IP address, domain, etc.)
4. Enter the required details and click on Add Record.
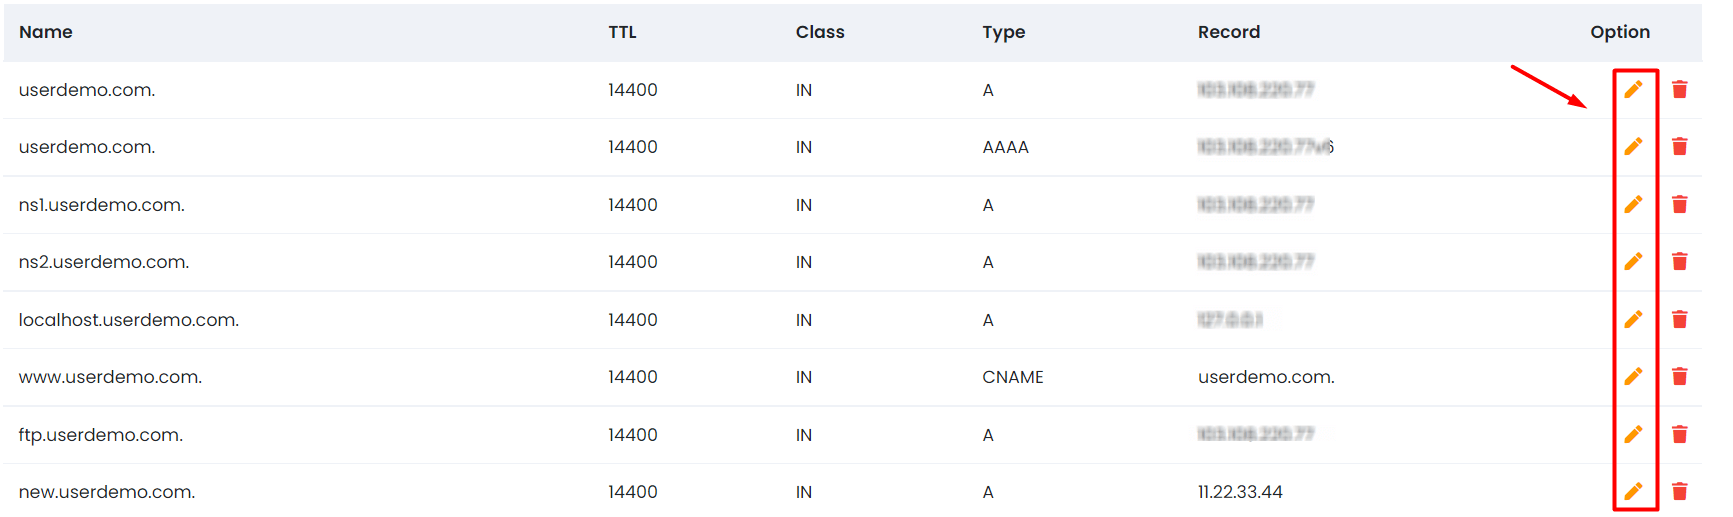
Webuzo will add the new DNS record to the list of the existing DNS records.
To Edit DNS Record
1. Log in to your user account of Webuzo.
2. Click on DNS Zone Settings in the Domain section.
The Advance DNS Setting panel will open, displaying the DNS records for the user account.
3. Click the pencil icon for a DNS record in the list to edit the record.
4. Once you edit the content of the record, click the floppy icon to save the changes.

Use the same method to edit any other DNS record of your Webuzo account.
To Delete DNS Record
1. Log in to your user account of Webuzo.
2. Click on DNS Zone Settings in the Domain section.
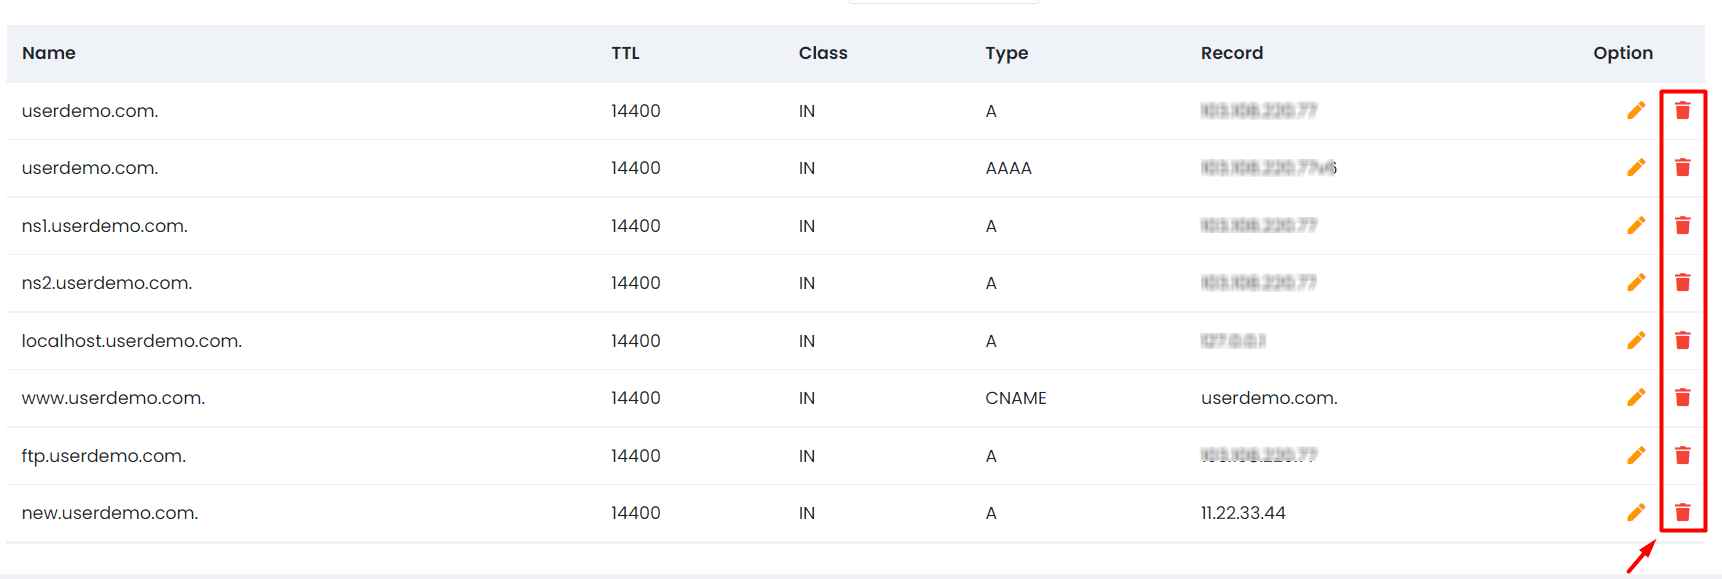
The Advance DNS Setting panel will open, displaying the DNS records for the user account.
3. Click the trash can icon for the DNS record you want to delete.
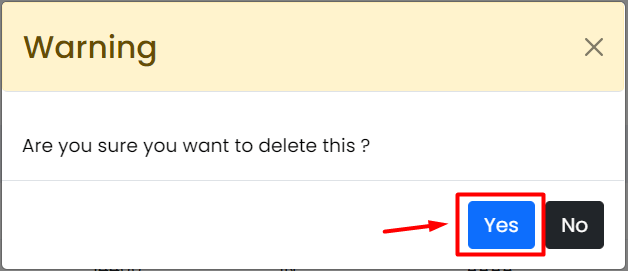
A warning window will pop up confirming if you want to delete the record.
4. Click the Yes button.
Webuzo will delete the DNS record from the list.
That is how you do DNS management for your user account in Webuzo.


