
If you are looking for a tutorial on how to use FTP to upload files on your WordPress website, you have landed at the right place. FTP or file transfer protocol is a simple and fast way to upload files from your computer to your website.
What is FTP?
FTP stands for File transfer protocol. With FTP, you can transfer files from your computer to your website hosting account.
Are you thinking about the media uploader in WordPress admin area? Yes you can easily upload the files such as images, video, audio, PDF and so on using it.
So, why do you need FTP?
FTP is required to manually upload files in WordPress that sometimes might not work due to an error on your site.
Basically, FTP isn’t required to upload files at all. Images can be easily uploaded from WordPress admin area. Moreover, you can upload plugins and themes from WordPress itself.
But, sometimes a plugin’s or theme’s file needs to be uploaded manually for WordPress troubleshooting purposes and fixing the common WordPress errors.
Using FTP to Upload WordPress Files
At first, download and install a FTP client on your machine. FTP client is an app which is required to connect to your website and transfer files using the FTP protocol.
Below are some of the most popular FTP clients that you can install:
- FileZilla (Windows, Mac, Linux | Free)
- WinSCP (Windows | Free)
- Cyberduck (Mac | Free)
In this tutorial, we will be using FileZilla but you can use any other FTP client as per your preference.
Steps to Connect To Your WordPress Site Using FTP
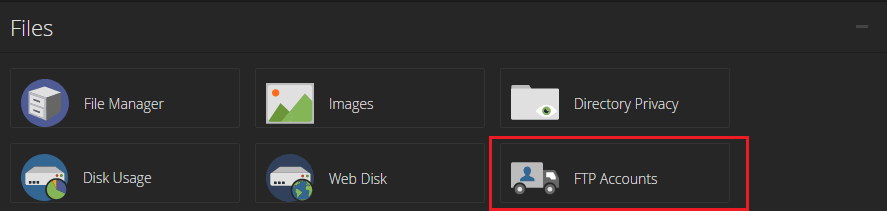
1. After opening the FTP software, you will be prompted for connecting to your website using your FTP login credentials. The FTP account information can also be found in your cPanel dashboard of hosting account.
In case you don’t get the login credentials, contact your hosting provider to get this information.
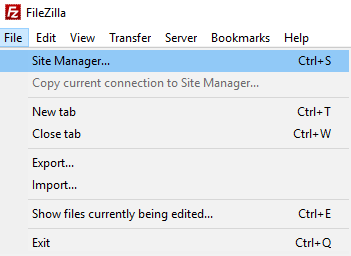
2. After getting the login credentials, open FileZilla and then go to File >Site Manager.
3. A pop up window appears where you can add your website information. Then click on the ‘New Site’ button and give a title for your website.
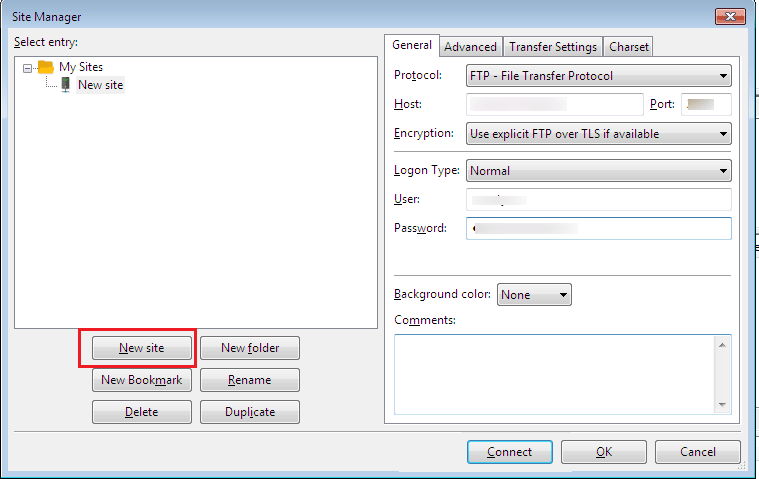
4. In the next column, enter your host which is usually your domain name.
Note: In the protocol section, select SFTP if your hosting provider supports it.
Select ‘Normal’ under the Logon Type field and then enter your FTP username and password in the below fields.
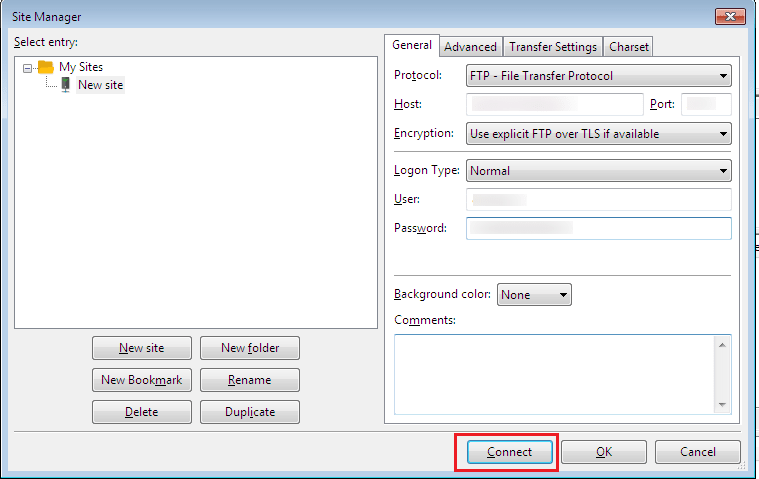
Then click on the Connect button to continue. With this, FileZilla will save your website settings for future logins and open a new FTP connection to your website.
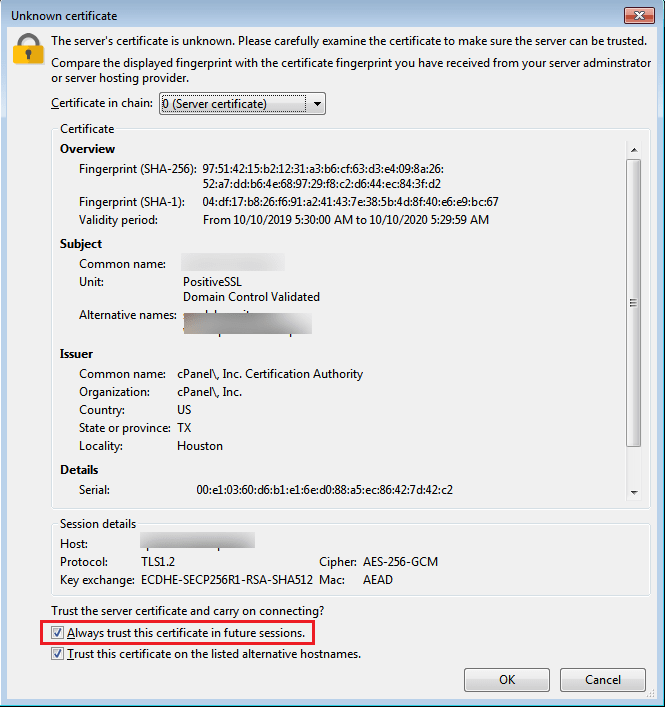
5. In case you are connecting to your website from this computer for the first time, then FileZilla may show you a certificate popup.
Tick the box next to ‘Always trust certificate for future sessions’ and click on the OK button to continue.
6. Then FileZilla will attempt to login to your website using the credentials you entered. After you get connected to your website, the list of files and folders on your website will get displayed under the ‘Remote site’ column.
The ‘Local site’ section will display the files on your computer.

7. Browse Local site to locate the files on your computer that need to be uploaded to your website. Next, right click on the file and select Upload from the menu.
Now, FileZilla will transfer the file from your computer to your WordPress site.
But, WordPress needs certain files and folders in specific locations for smooth functioning. This indicates you that you shouldn’t just upload a file anywhere. Find the location to upload a file in your WordPress site.
8. For example, you want to upload a plugin manually to your WordPress website. First you need to download the plugin to your computer.
Then unzip the plugin file. Inside the zip file, you will get the plugin folder. WordPress checks for plugins in the /wp-content/plugins/ folder.
So, first go to /wp-content/plugins/ folder in the Remote site column. Then upload the plugin folder from your computer to your website.

After uploading the plugin, visit the plugins page inside your WordPress admin area to activate the plugin.

In the same way, if you want to upload a premium theme to your website, it is needed to first download and unzip the theme folder on your computer. Then upload it to /wp-content/themes/ folder on your website.
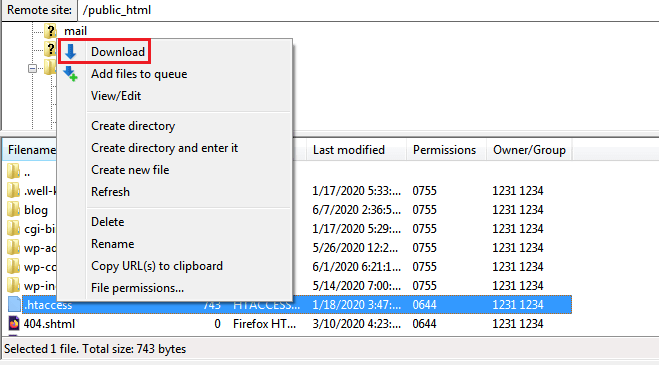
9. FTP is used to upload files from your computer to your WordPress website as well as to download files from your website and edit them.
Just right-click on the files or folders that you want to download under the ‘Remote Site’ column and click on the download button.
FTP can also be used to backup all WordPress files. Just select all files and folders and download them to your computer.
But, remember that this is just the backup of your WordPress files, and it doesn’t include your content (Database).
To take the backup of your content, you need to create a manual backup of your WordPress database.
Hope this article helped you learn uploading files to WordPress using FTP.
Also Read


