
Watch this video for a step by step process on how to Add Your Company Logo To Your WordPress Site
Follow the steps mentioned below to add your company logo or your website or blog logo to your WordPress website:
- Log in to WordPress.
- Go to Appearance and click on Themes.
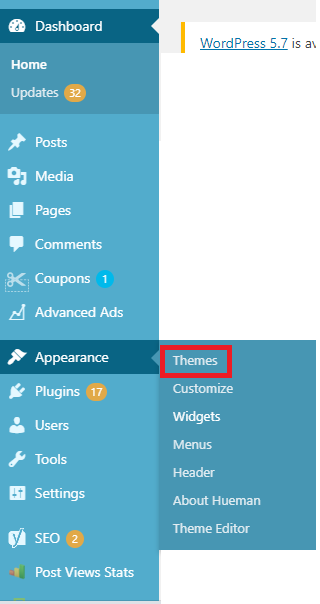
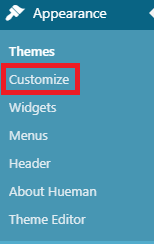
- Now, on the selected theme click on the Customize button.
- From the left panel, click on the Web page design section and then click on Site Identity.
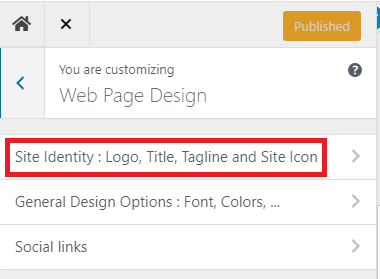
- Click on Select logo.
![]()
- Upload the new logo by clicking on Select Files or drag and drop the new logo file.
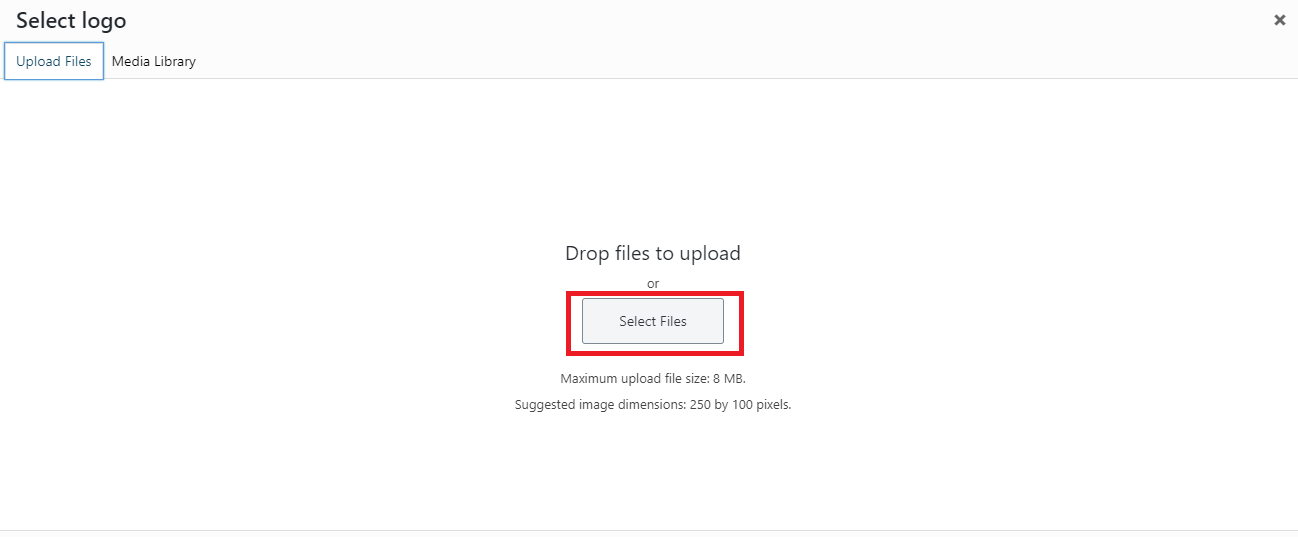
- Choose a logo and click on Open.
- Click on the Select button from the bottom right corner.
![]()
- If you want to crop the logo then resize the logo and click on the Crop image option or click on click on Skip cropping.
![]()
- A new logo will get added under the Logo section.
- Now, click on Publish and close the window.
![]()
- Under the My Blog section, click on Visit Site.
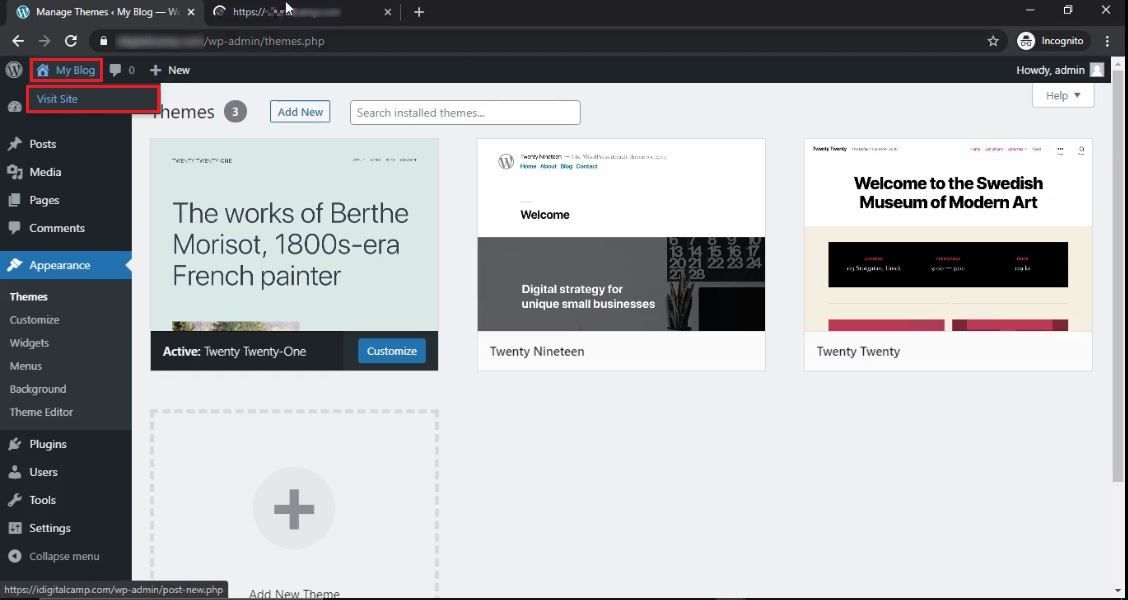
You will see the new logo on your website. That’s it! Your company logo is now uploaded on your WordPress website.
![]()


