
If your domain is registered with MilesWeb, you can easily manage its DNS settings by accessing mPanel.
Steps to Update Your DNS Settings
Follow these steps to configure or update your DNS:
Step 1:
Firstly, log into our Client Area using your registered email id.

Step 2:
Look for the “Services” option, and under the drop-down, click on “My Domains.” A list of all the registered domains will be provided.
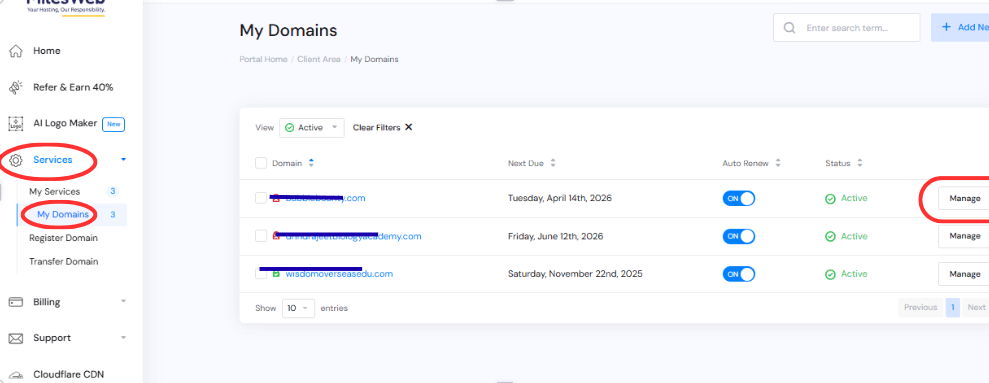
Step 3:
On the right side of every domain name, you’ll see the “Manage” button. Click on it to view all the services related to your domain.
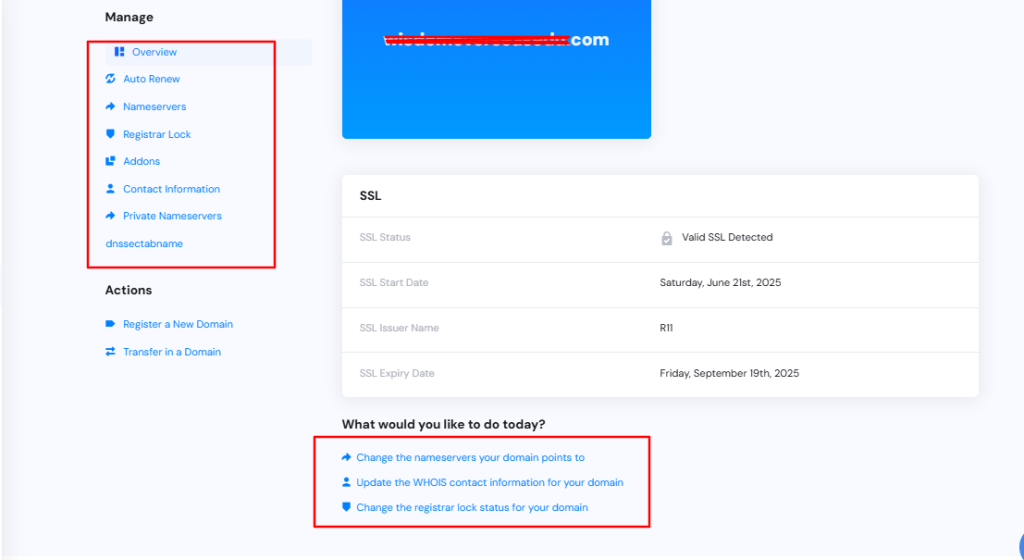
Step 4:
From here, you will be able to add, edit, or delete any DNS record for your domain name on our DNS servers. Point your domain to a website by pointing to an IP Address, or forward to another site, or point to a temporary page (known as Parking), and more. These records are also known as subdomains.
Managing your domain’s DNS settings is quick and hassle-free with MilesWeb’s Client Area. Whether you need to point your domain to a website, configure email services, or set up redirections, you have full control through the Manage DNS option. Always recheck your changes to ensure proper functionality. Remember that MilesWeb’s support team is available 24/7 if you need any assistance with DNS configuration.


