
Log In to Your Client Area
To begin the process, log in to your MilesWeb client area. You will do this using your login credentials (registered email address and password).
Navigate to the Manage VPS
- Upon gaining access to your client area:
- The first page you’ll view is your Dashboard.
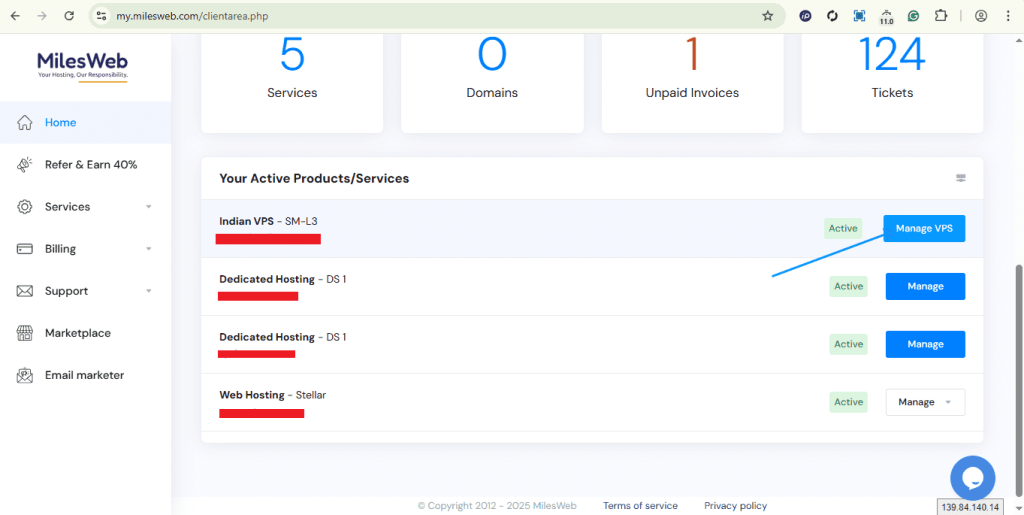
- Under the Dashboard, you’ll see a section called Your Active Products/Services.
- Locate the VPS associated with your domain.
- Click the “Manage VPS” button given near the domain name.
Navigate to the List VPS
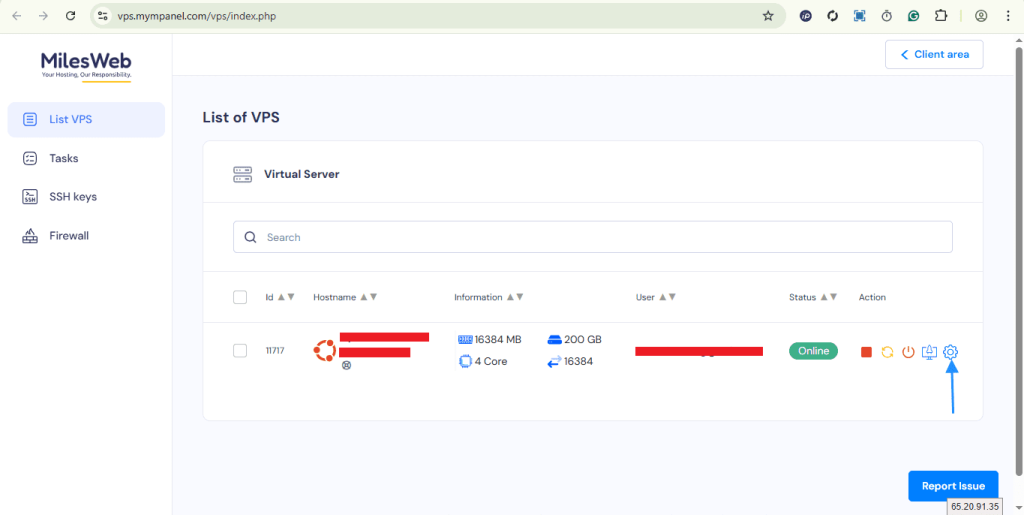
Once inside the control panel, navigate to “List VPS“, locate your VPS hostname, and click on the settings (gears) icon next to it.
Start OS Installation
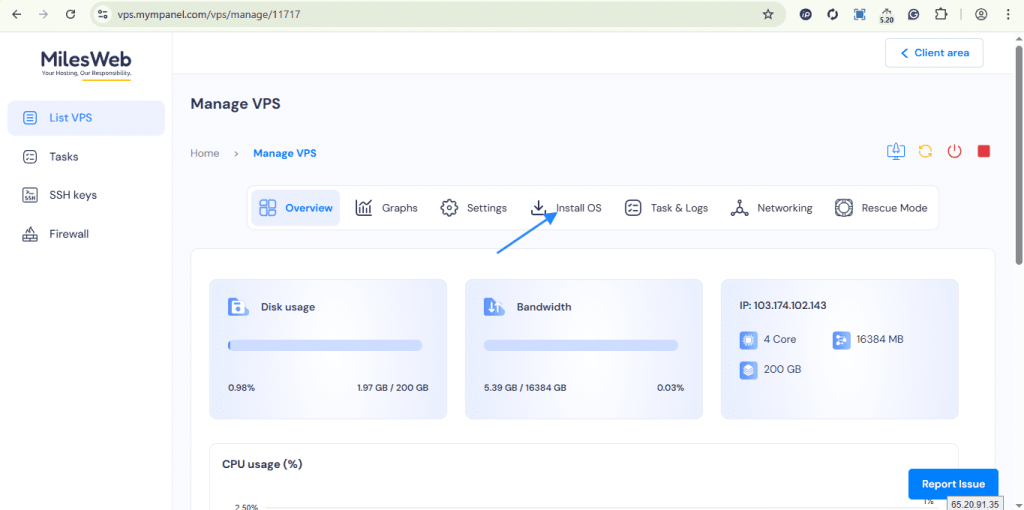
Initiate the operating system installation by clicking “Install OS”.
Select OS and Version
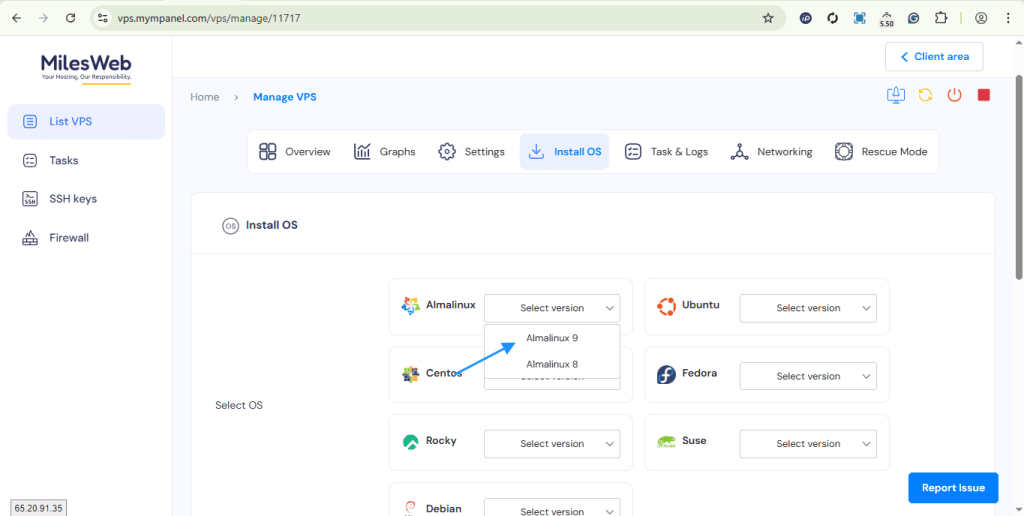
Choose your desired OS and the version that you require for setup.
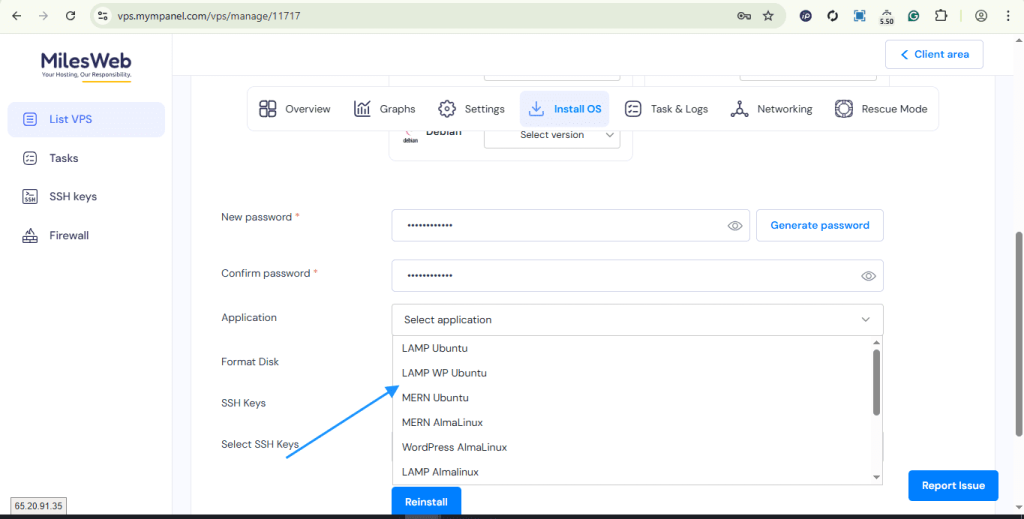
Set Password and Application
Set a strong and secure password for the root of your VPS, and if you need to install any applications, you’ll select them here as well.
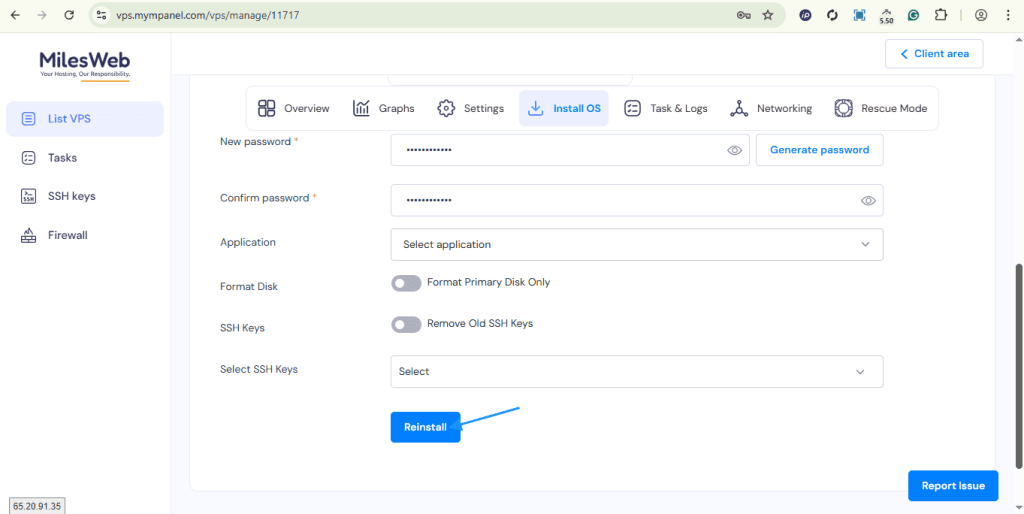
Configure Disk Format and SSH Keys
Configure the Disk Format and SSH Keys by either enabling or disabling both options according to your needs.
Finally, after completing the configuration, you will click “Reinstall”.
After you initiate the reinstallation, allow a few minutes for the operating system to completely boot up. Your VPS will be fully installed with the configuration you selected.


