
When you upgrade to a high-performance MilesWeb VPS or dedicated server, you gain complete control over your hosting environment, and setting up personal (private) nameservers is the ultimate way to leverage it.
By registering custom nameservers (like ns1.yourdomain.com and ns2.yourdomain.com) directly at your domain registrar panel and assigning your VPS server IP to both of them. With this, you instantly elevate your brand’s professionalism, simplify client management, and fully white-label your infrastructure. Whether you are using cPanel, Plesk, or managing DNS through the MilesWeb client area, this short guide will walk you through the exact steps to register your private nameservers and point them to your server IPs for a seamless, professional setup.
1. Navigate to the DNS Zone Manager menu in WHM’s DNS Functions section.
2. Click on Manage next to the domain you wish to set nameservers for.
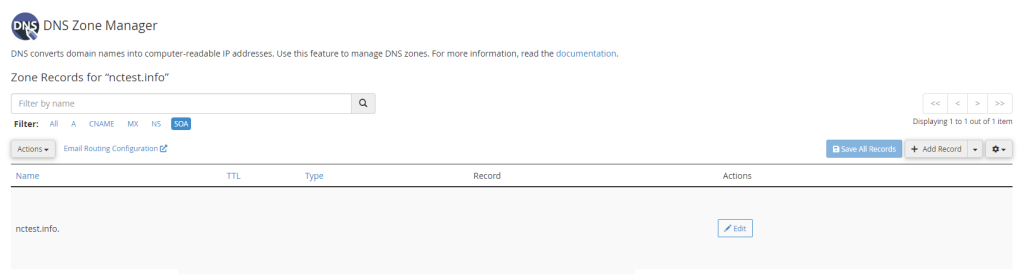
3. Change the SOA (Start of Authority) record to indicate your primary Nameserver and usable email address:
4. Create A records for ns1.domain.com and ns2.domain.com pointing to the server IP address you used when registering the nameservers:
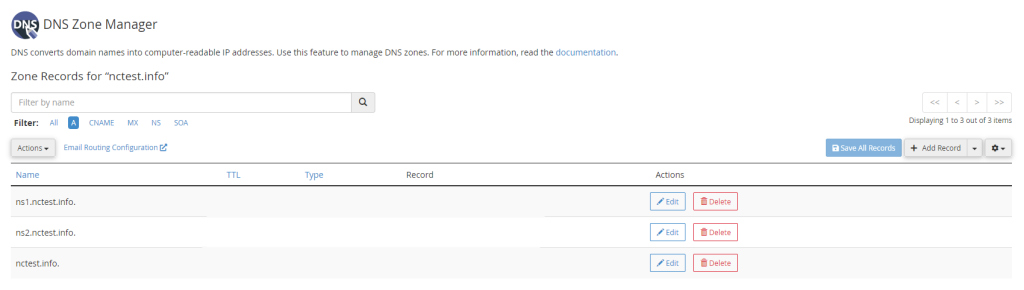
For the domain name itself, if you wish to use the newly created personal nameservers (ns1.yourdomain.com and ns2.yourdomain.com), make sure that you use the nameservers both at the domain registrar and in WHM>> DNS Zone Manager >> domain name in question >> NS records and SOA records.
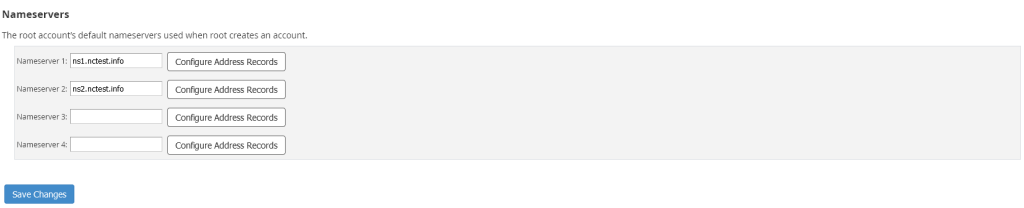
Go to Basic WebHost Manager Setup >> Basic Config in WHM and add your personal nameservers if you wish them to be automatically applied to newly created cPanel accounts (and required for all addons adding to cPanel):