
Watch this video for a step by step process on how to Modify Table Columns in phpMyAdmin
phpMyAdmin is a tool that allows users to modify, alter and carry various other functions on MySQL and MariaDB databases. This tool is available on cPanel, Plesk and DirectAdmin as well.
To Modify Table Columns in phpMyAdmin
1. Log in to your control panel(cPanel, DirectAdmin or Plesk) account.
2. Browse and click on phpMyAdmin.
3. The phpMyAdmin window will open. Select a database from the list on the left side of your screen.
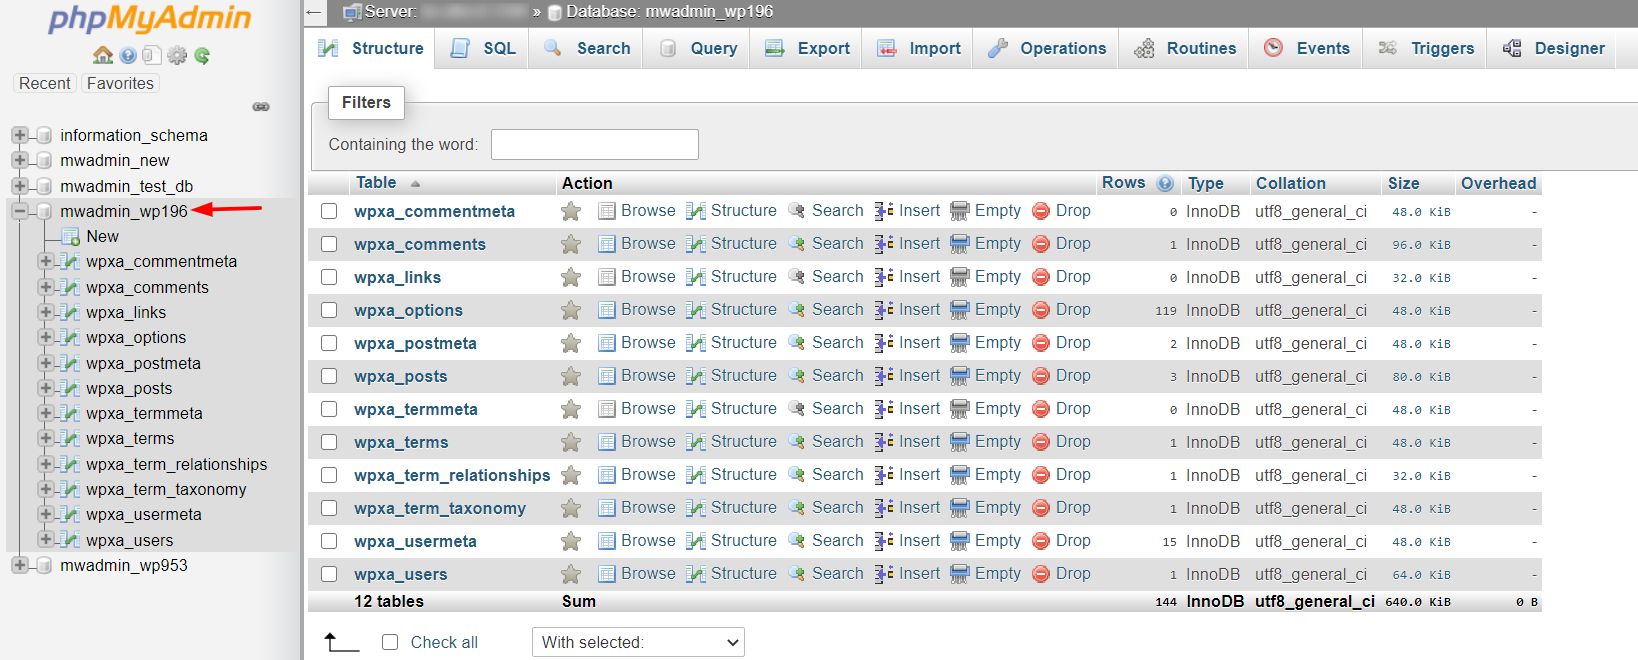 4. A list of tables will appear. Click on the ‘+’ icon beside the table whose columns you want to modify.
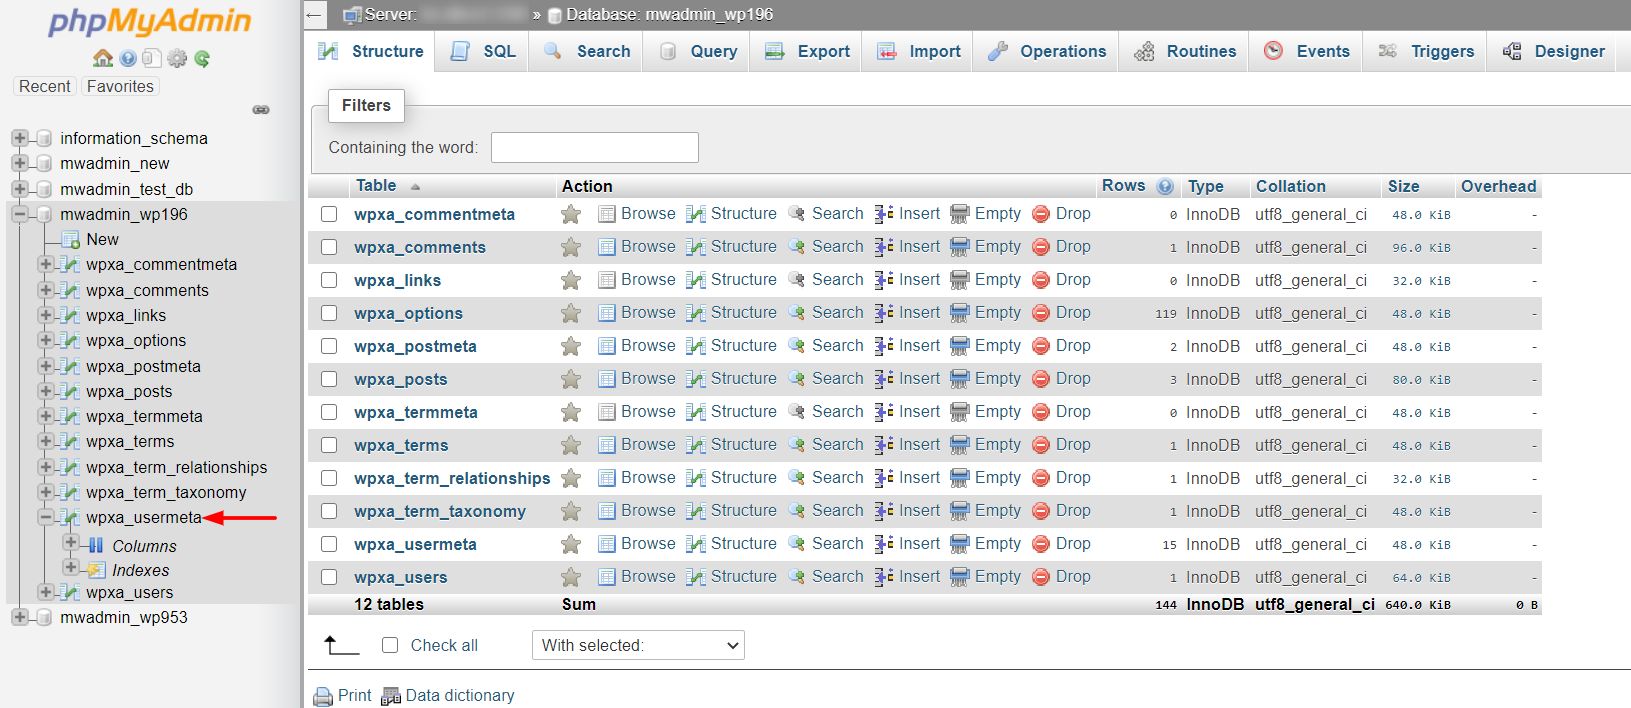
5. Click on the ‘+’ icon beside Columns to display the list of columns in the table.
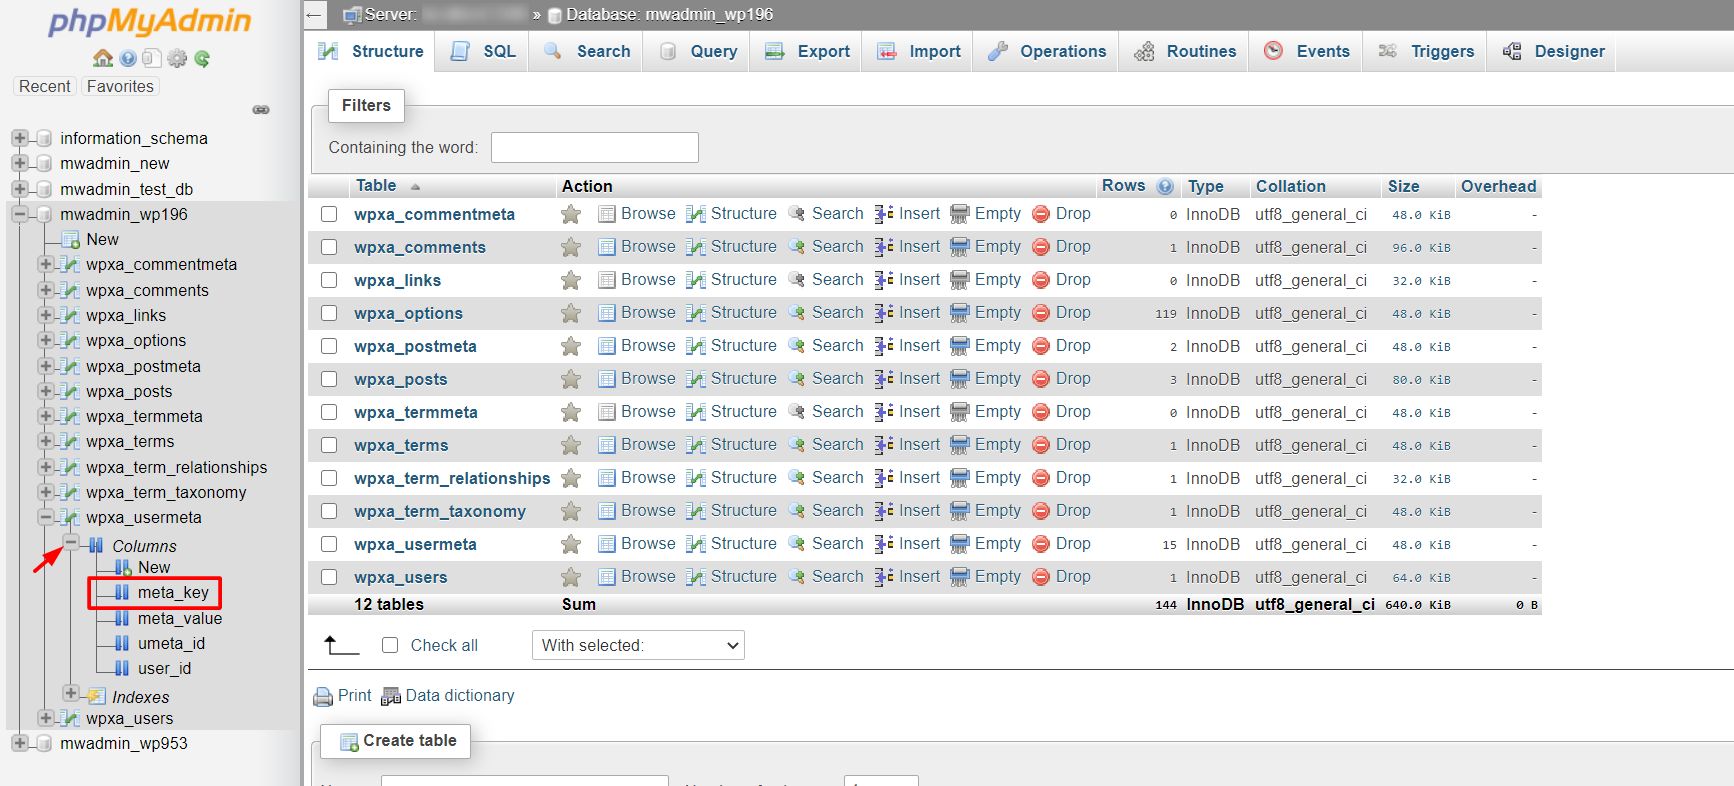
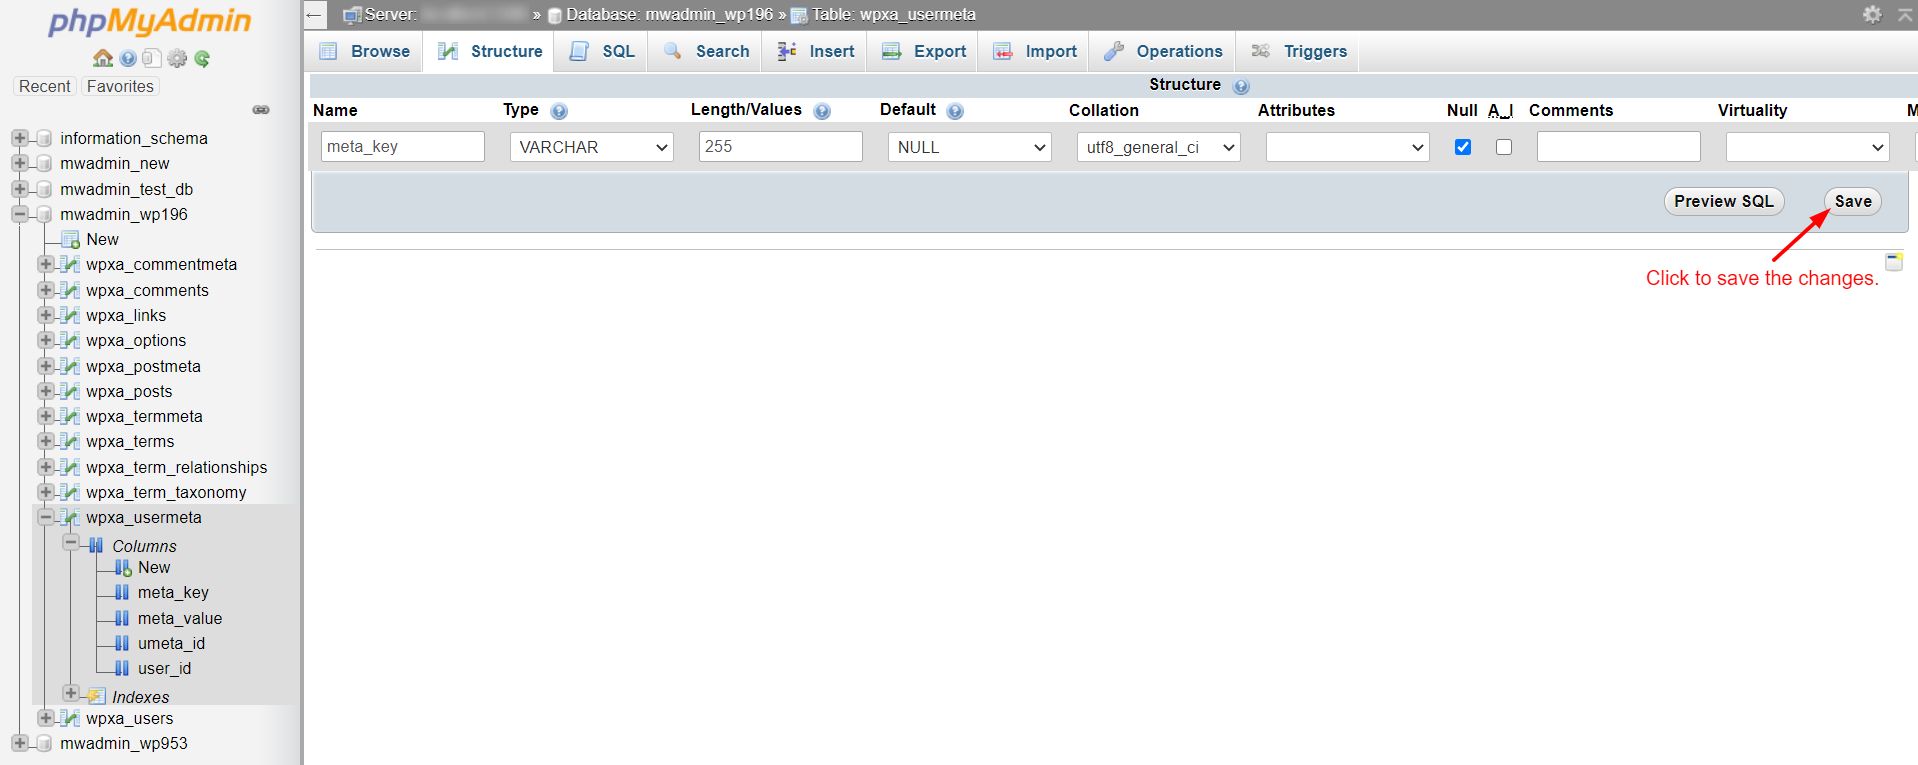
6. A panel where you can enter and modify column attributes will appear. You can change the column’s name, field length(character limit), default value, and more.
Note: Changing certain things in the table columns may result in data loss or change. For example, if the field length is changed from 20 characters to 15 characters, all data in that column will get cut down to 15 characters.
Once you have made all the modifications, click on Save.
phpMyAdmin will apply the changes and modify the table accordingly.


