
 Sommaya Singh
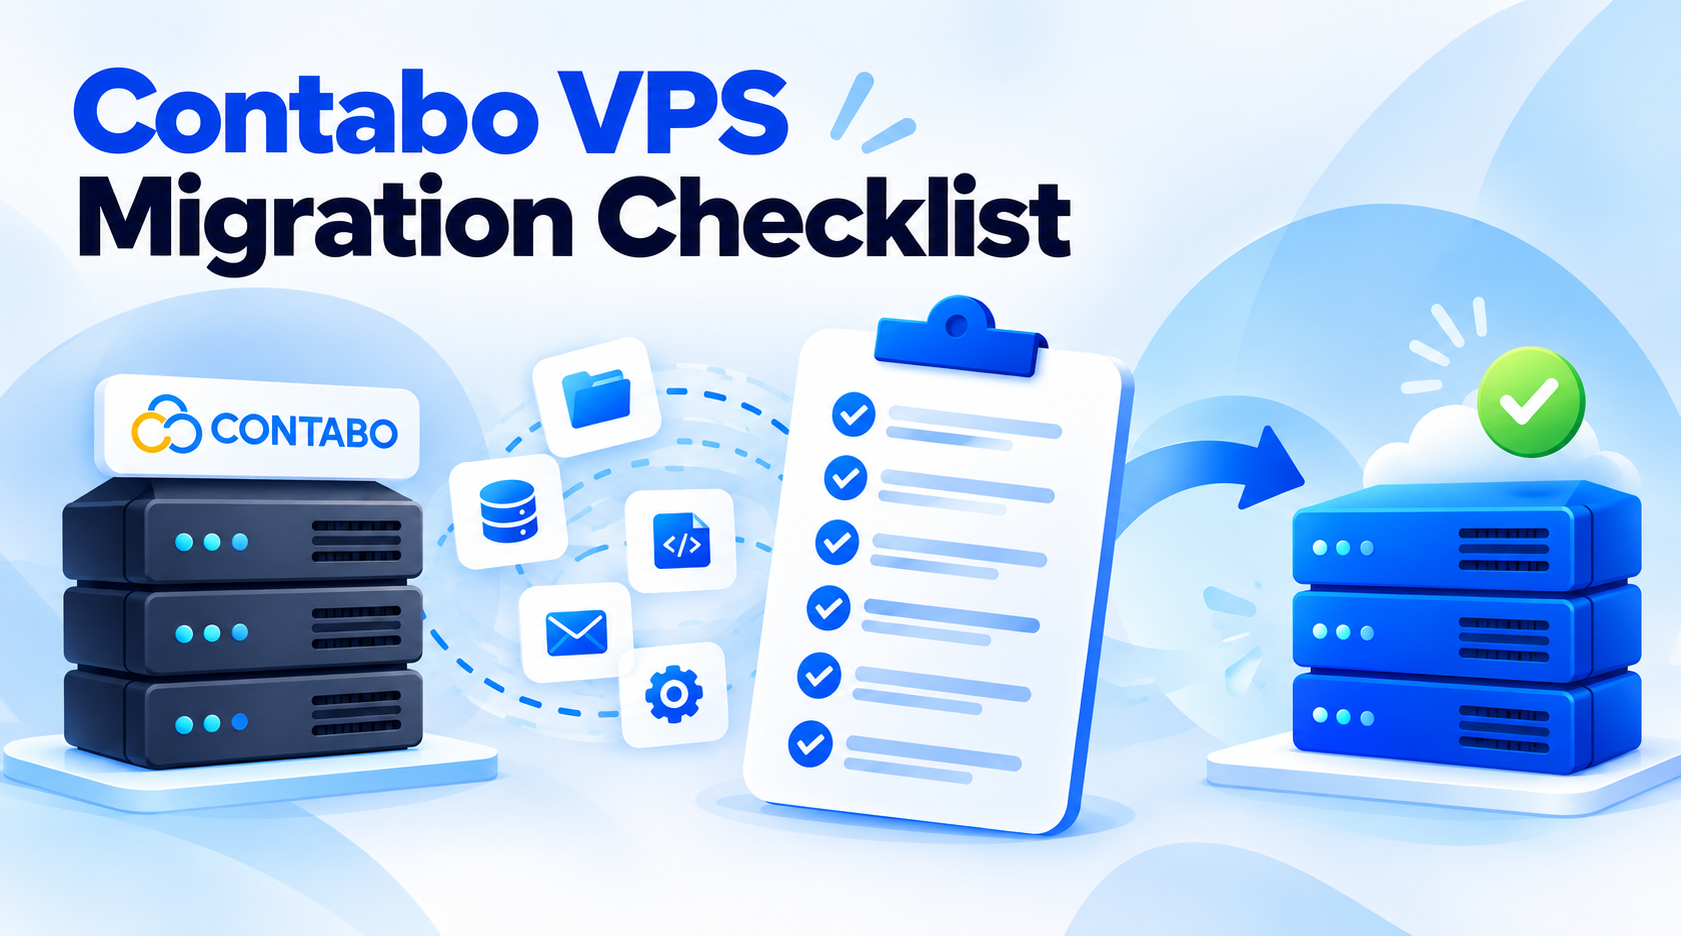
Migrating off a VPS sounds simple until you are the one doing it, juggling SSH sessions, half-documented cron jobs, and a domain that needs to switch servers without ever going dark. If you are reading this guide, there is a good chance you are already partway through the decision and want a checklist that doesn’t skip the parts that actually cause downtime.
The guide walks through a complete Contabo VPS migration: what to prepare before you start, giving a step-by-step checklist to follow during migration. Whether you are migrating to Contabo alternative MilesWeb or just consolidating infrastructure, the goal here is the same: zero surprises, minimal downtime, and a rollback plan if something doesn’t go as expected.
Table of Content
Why Migrate from Contabo VPS?
Contabo usually gets picked for one reason: The price-to-resource ratio is challenging to beat. Affordable RAM, generous storage, and specs look excellent on paper. But cheap infrastructure comes with trade-offs, and after a few months of running production workloads, several of those trade-offs start showing up in ways that matter.
The most common complaint is inconsistent performance and CPU steal time that spikes unpredictably, especially on the lower-tier VPS plans where resources are more heavily shared. Support response times are another recurring issue; when something breaks at 2 AM, a slow support queue turns a minor incident into a longer outage than it needed to be. Users frequently cite network reliability and I/O speed on the storage-heavy plans as inconsistent compared to premium providers.
None of this means Contabo is a bad choice for every use case for hobby projects, staging environments, or budget-conscious startups; it’s often perfectly fine. But once uptime, support SLAs, or consistent performance become business-critical, migrating to a predictable provider becomes less of a nice-to-have and more of a necessity. If that’s where you’re at, here’s how to do it without losing data or racking up unnecessary downtime.
Also Read: Hetzner VPS Migration Checklist
What You’ll Need Before You Start?
Migrations go wrong far more often from poor prep than from the actual transfer. Before touching anything, ensure you have:
- Root SSH access to your current Contabo VPS: You will need the root access to retrieve data, check running services.
- Access to your DNS provider’s control panel: Whether that’s Cloudflare, or another DNS provider where your domain is managed, you will need to update records during cutover.
- A complete list of services running on the source VPS: Databases, web servers, cron jobs, background queue workers, and any custom daemons. If you haven’t documented your services, run the command systemctl list-units –type=service and cross-check the results against your actual application stack, as forgotten services are the primary cause of issues like “wait, why is X broken” after migration.
- Access credentials for your new VPS provider: SSH keys or root password ready to go before you start, not requested mid-migration.
- Roughly one hour of supervised time for the cutover window: Even a well-prepared migration benefits from someone actively watching logs and traffic during the actual DNS switch, rather than walking away and hoping for the best.
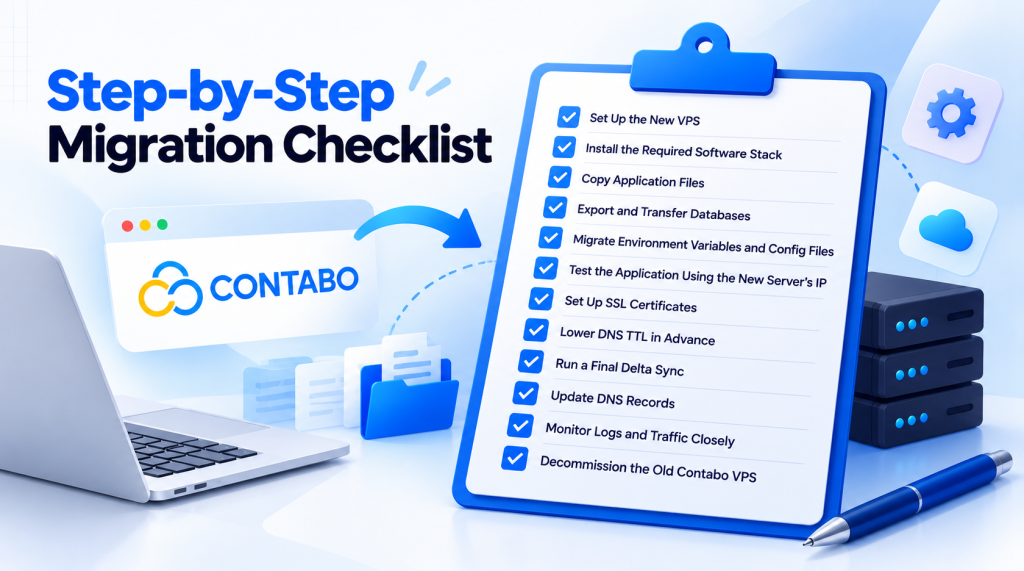
Step-by-Step Migration Checklist
Step 1: Set Up the New VPS
Start provisioning the new server. Try to match the OS version as closely as possible to the current Contabo install. If you are running Ubuntu 22.04 on Contabo, install the same version on the new VPS and don’t jump to a newer release in the middle of the migration; version mismatches are a common source of dependency conflicts you don’t need to deal with right now. Wait for everything to be stable before upgrading the OS.
Step 2: Install the Required Software Stack
Install your web server (Nginx or Apache), database engine, runtime environment (Node.js, PHP, Python, etc.), and any other dependencies your application demands. Where possible, match versions exactly to what’s running on Contabo; even minor version differences in things like PHP or PostgreSQL introduce subtle bugs that are frustrating to debug after the fact.
Step 3: Copy Application Files
Copy your application files from the old server to the new server using rsync or scp. For anything more than a small code base, the way to go is rsync -avz, which lets you resume an interrupted transfer without having to start over. This is handy if you are migrating to a large media library or years’ worth of accumulated log files over a slow connection.
Step 4: Export and Transfer Databases
Dump your database using mysqldump for MySQL/MariaDB or pg_dump for PostgreSQL. Then, transfer the dump file to the new server and import it. Before deleting anything on the old server, the dump process was completed without errors with the matching row counts. A silent truncation error here is the kind of thing that doesn’t surface until days later when someone notices missing data.
Step 5: Migrate Environment Variables and Config Files
This process is where migrations quietly break. Application .env files, SSL certificates, cron job definitions, and any custom config files need to be copied over deliberately. They are easy to forget since they don’t get stored inside the main application directory or database. Review your prerequisite checklist from earlier and confirm each service has its configuration replicated on the new server.
Step 6: Test the Application Using the New Server’s IP
Don’t touch DNS until you are sure your application works by going directly to the new server’s IP address. Check database connection, static asset loading, background job execution and core user flows. This is your last checkpoint before the real traffic comes in, so take the time to actually click around in the app and not just verify that the server responds.
Step 7: Set Up SSL Certificates
Set up SSL on the new server prior to going live, either by moving your existing certificates or by issuing new ones through Let’s Encrypt. Test HTTPS access directly to make sure that certificates are valid and correctly configured, because a broken SSL setup at the time of cutover will show a security warning to every visitor instead of a website.
Also Read: Supabase vs PostgreSQL
Step 8: Lower DNS TTL in Advance
At least 24 to 48 hours before your planned cutover, lower the TTL on DNS records to something short, like 300 seconds. This step is easy to overlook, but skipping it means the actual cutover takes a full day or more to propagate completely.
Step 9: Run a Final Delta Sync
Right before cutover, run one more rsync and database export to capture anything that’s changed since your initial transfer, new user signups, updated files, and fresh log entries. This final sync reduces the risk of data loss or inconsistency between the initial copy and the cutover.
Step 10: Update DNS Records
With TTL already lowered, your new server is fully tested; update your DNS records to point to the new VPS. Do this during your planned cutover window, ideally at a low-traffic time, so you have scope to monitor and react if something unexpected occurs.
Step 11: Monitor Logs and Traffic Closely
Watch error logs, response times and incoming traffic patterns closely for the first few hours after the cutover. Look out for missed issues like skipped tests, unmigrated cron jobs or different config settings under real traffic.
Step 12: Decommission the Old Contabo VPS
Resist the urge to shut down the old server immediately. Keep it running for a few days as a safety net while you confirm the new server stability under real-world conditions. Once you have seen consistency and error-free operation for several days, that’s your signal that it’s safe to finally decommission the old VPS.
Also Read: Free VPS Hosting Providers
Conclusion
Migrating off Contabo doesn’t have to mean downtime, loss, or a stressful process. Migration tasks can go wrong if they are not properly planned and executed. Examples of issues that can arise include an undocumented cron job, a forgotten .env file, and a DNS TTL that wasn’t lowered in time.
If you follow this checklist in order, preparing thoroughly, testing on the new server before touching DNS, timing your TTL changes in advance, and keeping the old server running as a safety net, you give yourself room to catch problems before they become outages. To reduce the technical overhead, migration experts at MilesWeb ensure seamless and no-data-loss migration on our VPS hosting servers.
FAQs
1. How long does a Contabo VPS migration typically take?
Most migrations take a few hours to a full day of active work, depending on data size and number of services, a simple website with one database is done in under three hours. The actual cutover itself should only take about an hour if you’ve lowered DNS TTL in advance and tested everything beforehand, since most of the time goes into prep rather than the switch.
2. Will I experience downtime during the migration?
With proper preparation, including testing on the new server first, lowering the DNS TTL early, and keeping the old server live during the cutover, downtime can be reduced to just a few minutes or even close to zero, as the old server continues to serve traffic until the DNS switch occurs. Some brief disruption is still realistic around DNS propagation or with stateful sessions, so scheduling the cutover during low-traffic hours helps minimize any remaining gap.
3. What information do I need before starting migration from Contabo?
You will need root SSH access to your Contabo VPS, access to the DNS provider’s dashboard, a full list of services running on the server, your new server’s login credentials, and copies of environment variables, SSL certificates, and config files that live outside the main codebase, gathering all the upfront is what keeps the migration to limited hours.
4. Can I keep my existing DNS provider after switching?
Yes, the VPS and DNS provider are separate things, since the DNS provider just points domain to whatever server IP gives, so switching hosts means updating that IP address. If you’re happy with your current DNS setup, there’s no need to change it too, and keeping it as-is actually simplifies the migration.