
Once you create your website in minutes using the AI Website Builder, you can refine it to perfection with ease. Use the steps below to update your content and styling in just a few simple clicks.
1. Edit Page
Once the initial building process is complete, you can begin tailoring the fine details of your website to match your exact vision.
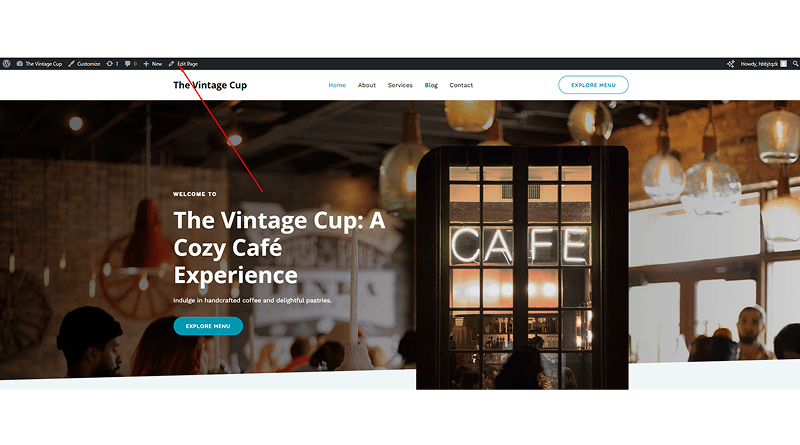
- Navigate: Go to the top-left corner of the interface.
- Edit Page: Click Edit Page to open the visual editor.
- Customize: Use this workspace to modify text, swap images, and adjust layouts in real-time.
2. Change Header Background Image
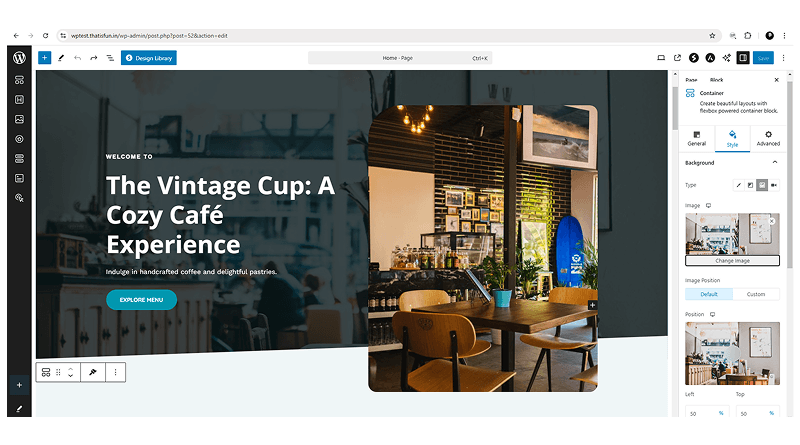
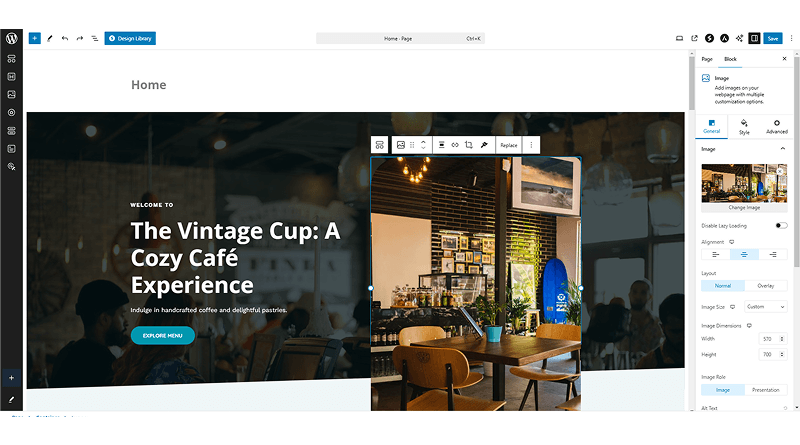
You can give your website a fresh look simply by updating the main header image.
- Start by clicking directly on the background image you wish to replace.
- Next, move to the right side of the editor and click the Sidebar icon right next to the Save button. From there, head over to the Block tab and select Style.
- Now, use the Change Image option to find a new photo. You can pick something from your media library, search for a fresh image, or upload a file from your own device.
- Once you are happy with the choice, click Save to apply the new background. Be sure to check your website to see the update live!
3. Change Header Title Content
- First, click directly on the text in the header area to start editing.
- Type in the new title or tagline you want to display for your visitors.
- Press the Save button in the top-right corner once you are happy with the changes.
- Check your live site or preview mode to ensure the new title looks exactly as intended.
4. View Your Changes
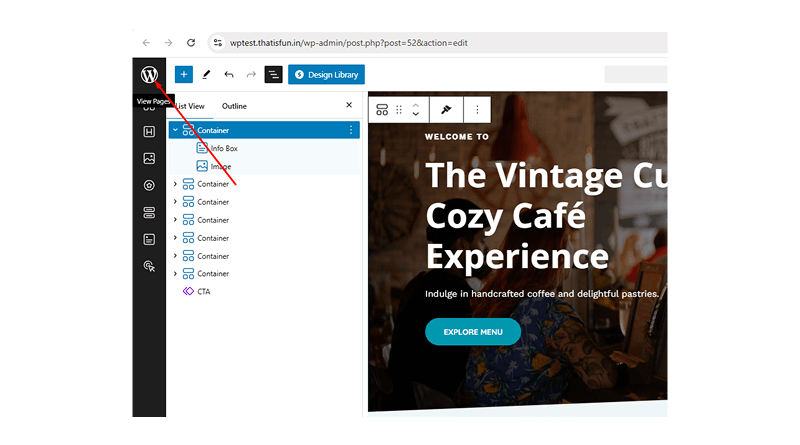
Check your live website to see how your updates appear to visitors.
- Click the WordPress icon in the top-left corner and open it in a new tab.
- Select the Home icon located to the right of the WordPress logo.
- Review your website in the new tab to verify that all edits look correct.
5. Change Header Image
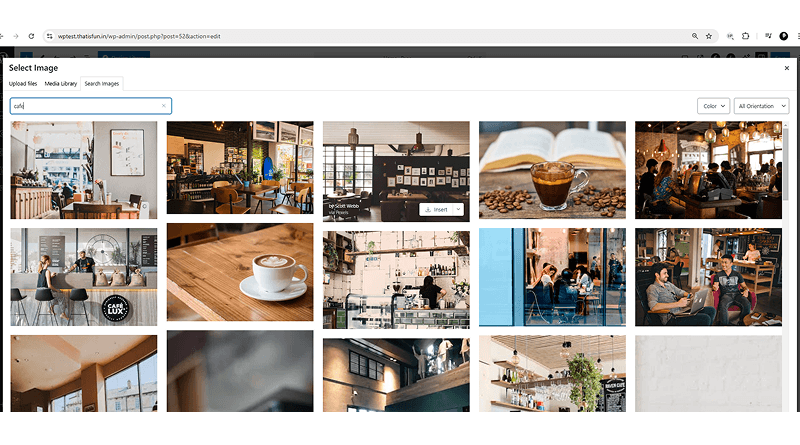
Update specific images within your header to further customize the visual appeal of your page.
- Open the sidebar on the right side of the editor to access your settings.
- Double-click on the specific image you wish to replace
- Click on Change Image to begin the replacement process.
- Select Search Images to find new visuals; you can filter these by color and orientation to match your design.
- Choose Upload Files if you prefer to use your own custom image from your device.
- Confirm your selection to update the header with the new visual.
6. Change background Overlay color
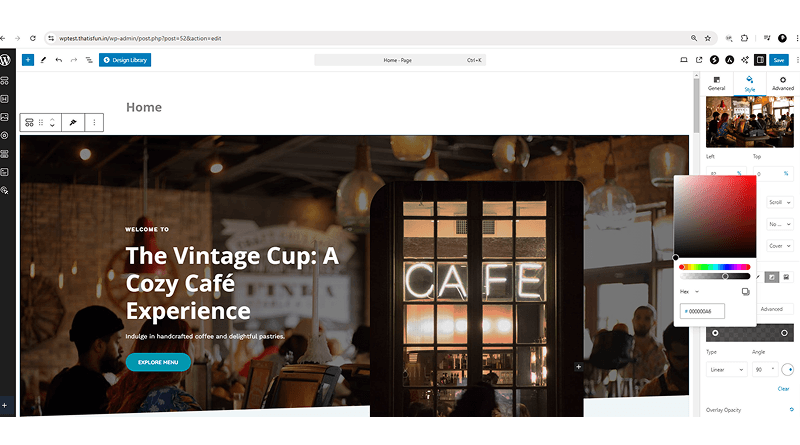
You can also enhance your design by adding a smooth color transition to your background sections.
- To get started, just double-click on the background area you want to modify to open up the settings
- Scroll down the sidebar on the right side to find the Overlay Type section.
- From there, select Gradient and choose the specific style and colors you want to apply.
- Click the Save button to store your changes.
- Press the WordPress (W) icon in the top-left corner to visit the site and review the new look.
7. Change Website Logo
You can further customize your branding by uploading a unique logo and adjusting its placement.
- Click on the WordPress icon, then navigate to the left sidebar and select Appearance > Customize.
- Go to Header Builder, select Site Title & Logo, and then click Select Logo.
- Click on Upload Files to choose and upload your specific logo file from your device.
- Adjust the image using the cropping tool and press Crop Image.
- Use the Logo Width slider to scale the logo size based on your requirements.
- Navigate to the Site Title section (located below Logo Width) and remove the existing text.
- Press the Publish button to make your new logo live on the website.
8. Change Header Menu Font Size
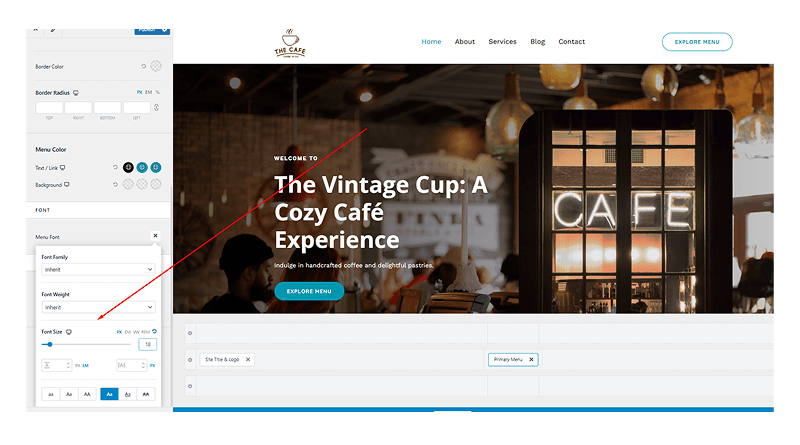
Another way to customize your website is by adjusting the typography of your navigation menu to improve its readability and style.
- To adjust your menu font, hover over the menu text and click the Pencil icon that appears.
- Navigate to the Design tab within the sidebar.
- Click on the Pencil icon located specifically in the menu font settings.
- Now, you can set the font size to 18px or whichever size you prefer.
- When you are happy with the look, just press Publish or Save to apply the changes to your header.
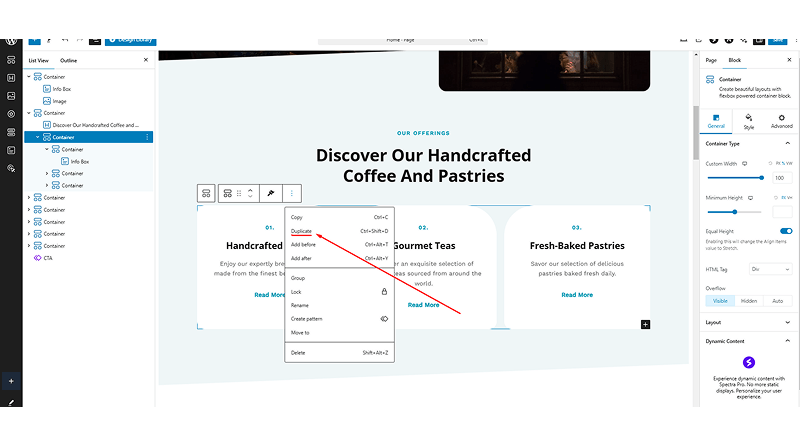
9. Add Multiple Feature and Step Boxes
You can also expand your page layout by duplicating existing elements and customizing the content.
- Start by selecting the Main Container that holds your feature or step boxes
- Click on the Three Dots icon to open up the options menu, and then select Duplicate to create an exact copy of that section.
- From there, you can edit the text within the new boxes to match your specific requirements.
- Once everything is in place, just press the Save button to apply the updates to your layout.
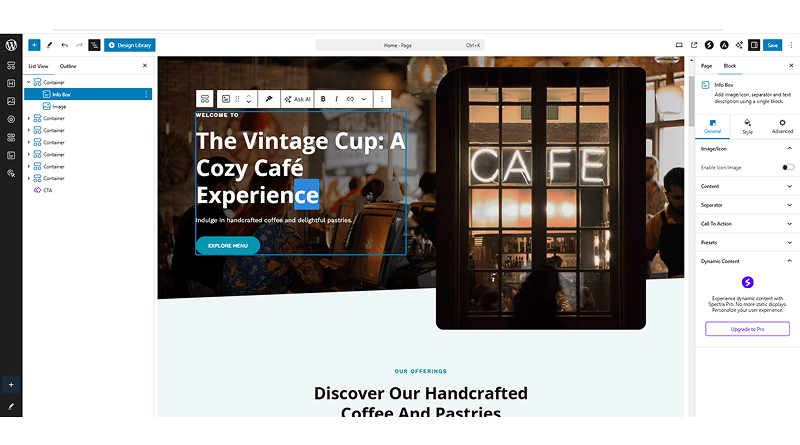
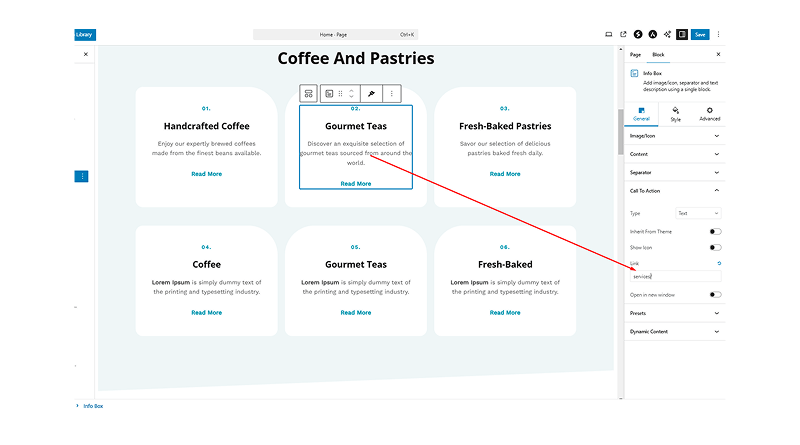
10. Add a link to the info Box Button
Connect your call-to-action buttons to specific pages or external resources.
- Begin by selecting the Info Box you want to edit.
- Navigate to the General tab in the right-side sidebar.
- From there, click on “Call To Action” to expand the link options.
- Update the Link field with the specific URL you need.
- Press the Save button to ensure the button is active and functional.
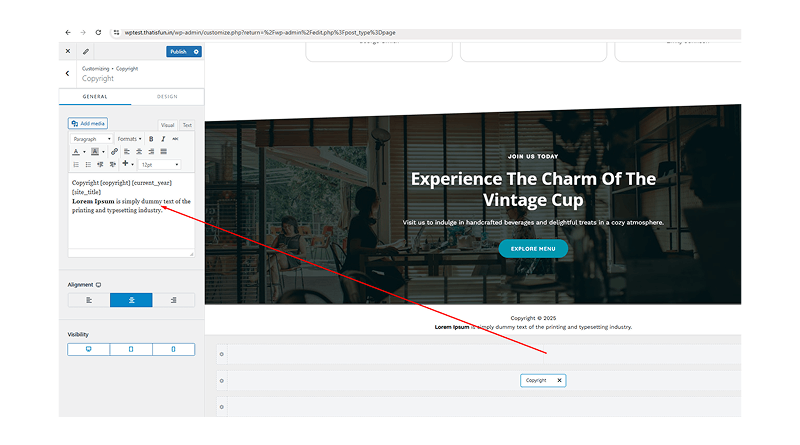
11. Add Copyright Text in Footer
You can easily update the branding at the bottom of your pages by adding custom copyright information.
- To start, click on the WordPress icon, then navigate to the left sidebar and select Appearance > Customize.
- Navigate to the Footer Builder and select the Copyright section.
- Look for the text field below the Copyright setting and enter your preferred details. For example, you can use sample text like: “Lorem Ipsum is simply sample text of the printing and typesetting industry.”
- Once the text is ready, press the Publish button to make your new footer live.
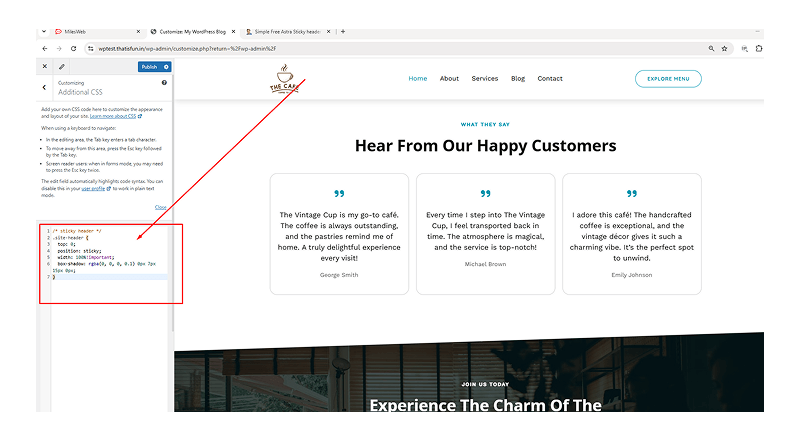
12. Make the Header Sticky
Keep your navigation menu visible at the top of the screen as visitors scroll down the page.
- To set this up, navigate to Dashboard > Appearance > Customize from your WordPress admin area.
- Click on the Additional CSS tab located at the bottom of the customizer menu.
- Next, copy and paste the following code into the editor:
/* sticky header */
.site-header {
top: 0;
position: sticky;
width: 100%!important;
box-shadow: rgba(0, 0, 0, 0.1) 0px 7px 15px 0px;
}
Press the Publish button to apply the sticky effect to your website.
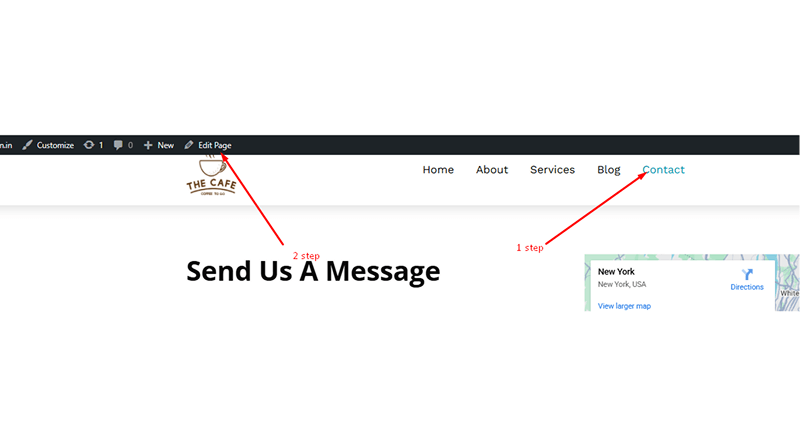
13. Add Your Location to the Map
Update your contact page with an interactive Google Map to help visitors find your physical location.
- To get started, navigate to the Contact Page and press Edit Page in the top-left corner.
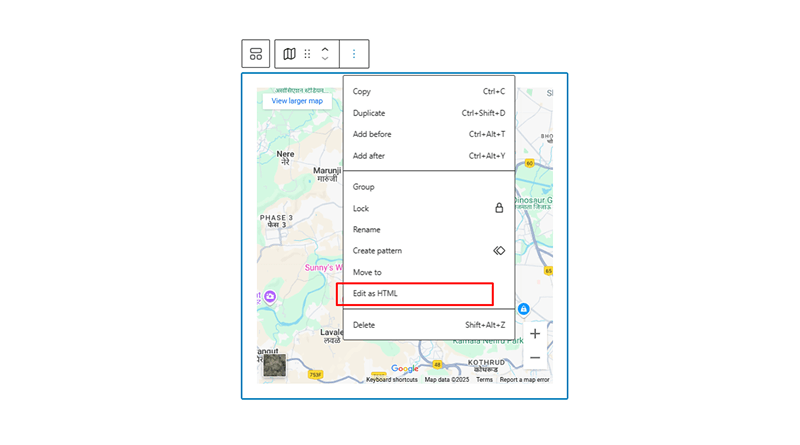
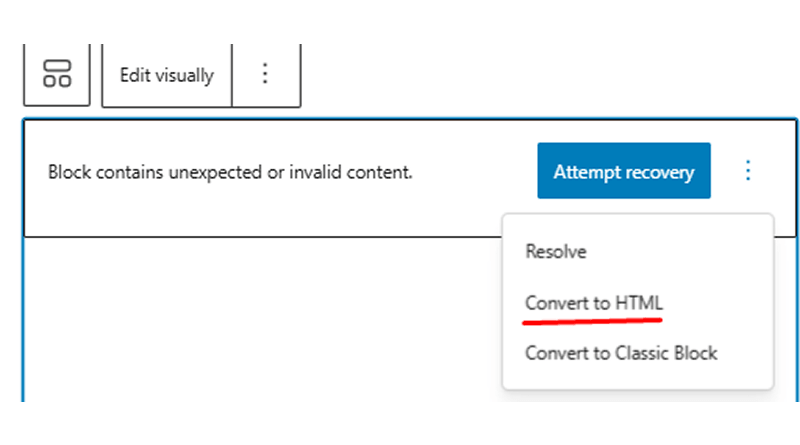
- Double-click on the existing Map block, click the Three Dots icon, and select Edit as HTML.
- Open Google Maps in a new browser tab and search for your specific business address.
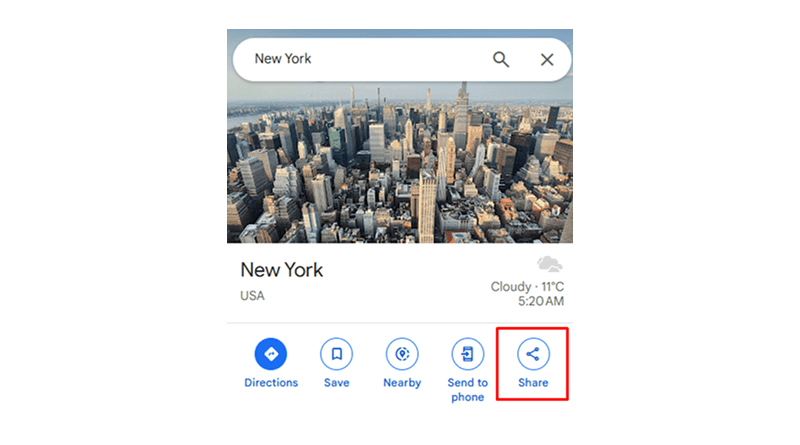
- Press the Share button on the Google Maps sidebar and select the Embed a map tab.
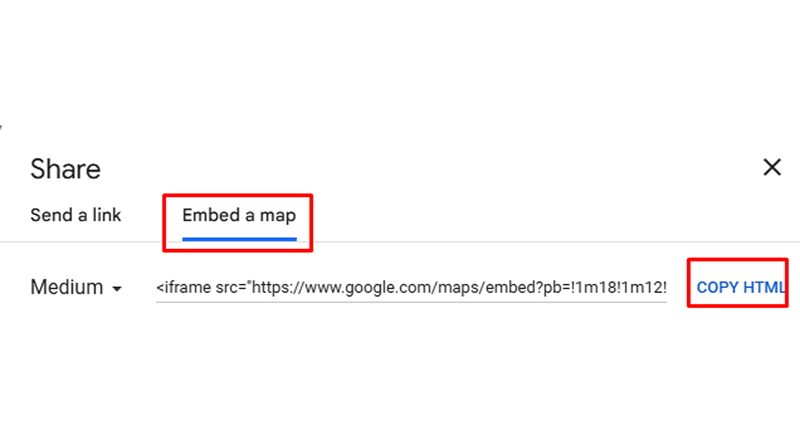
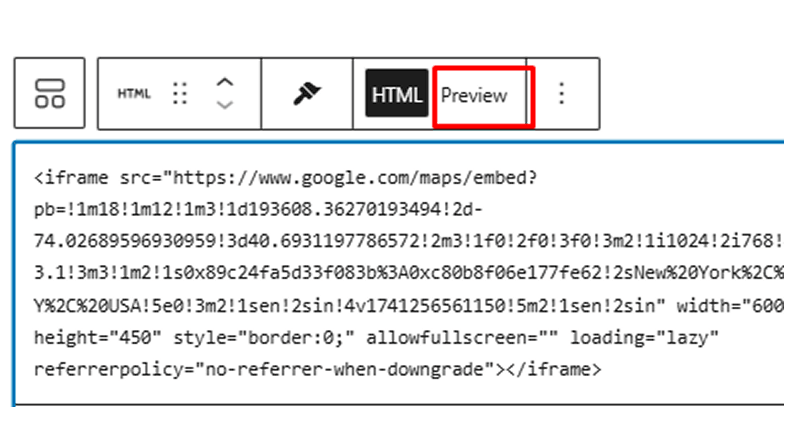
- Click Copy HTML to copy the embed code to your clipboard.
- Return to the contact page editor and paste the code into the HTML block.
- Select Preview to verify the map displays correctly, then press the Save button.
- Review your live contact page to ensure that the new location is visible.
14. Add Social Media Links
Connecting your social media profiles is a great way to grow your online presence and engage with your visitors.
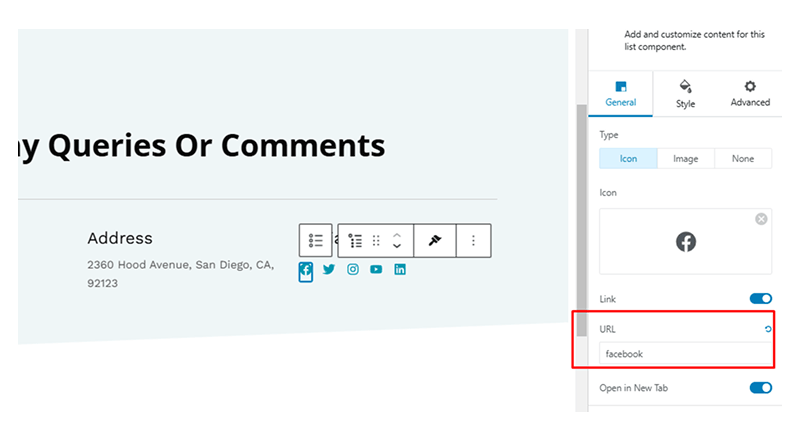
- To update a link, just click directly on the social media icon you wish to update.
- Navigate to the sidebar on the right side of the screen.
- Enter your specific profile link into the URL field.
- Repeat these steps for each platform you want to link.
- Press the Save button to make the icons active.
15. Change Website Theme Color
Adjust the global color palette to maintain a consistent brand identity across your entire site.
- To start, click on the WordPress icon, then navigate to the left sidebar and select Appearance > Customize.
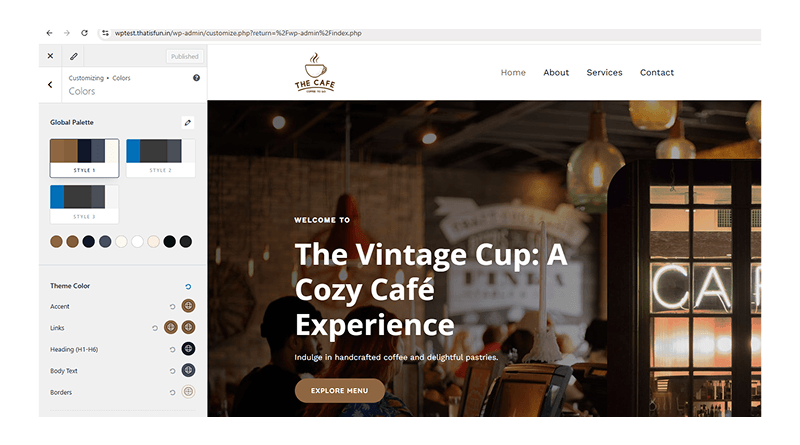
- Navigate to the Global tab within the customizer menu.
- Select Colors and then click on Global Palette.
- Choose your desired colors from the palette to update the theme-wide styling.
- Once you are happy with the new look, just press the Publish button to apply the color scheme to your entire website.
This is how you can effortlessly customize your website easily using an AI website builder.


