
You can easily install the CMS Made Simple CMS with the use of Softculous in cPanel.
You need to follow the steps mentioned below in order to install CMS Made Simple through Softaculous:
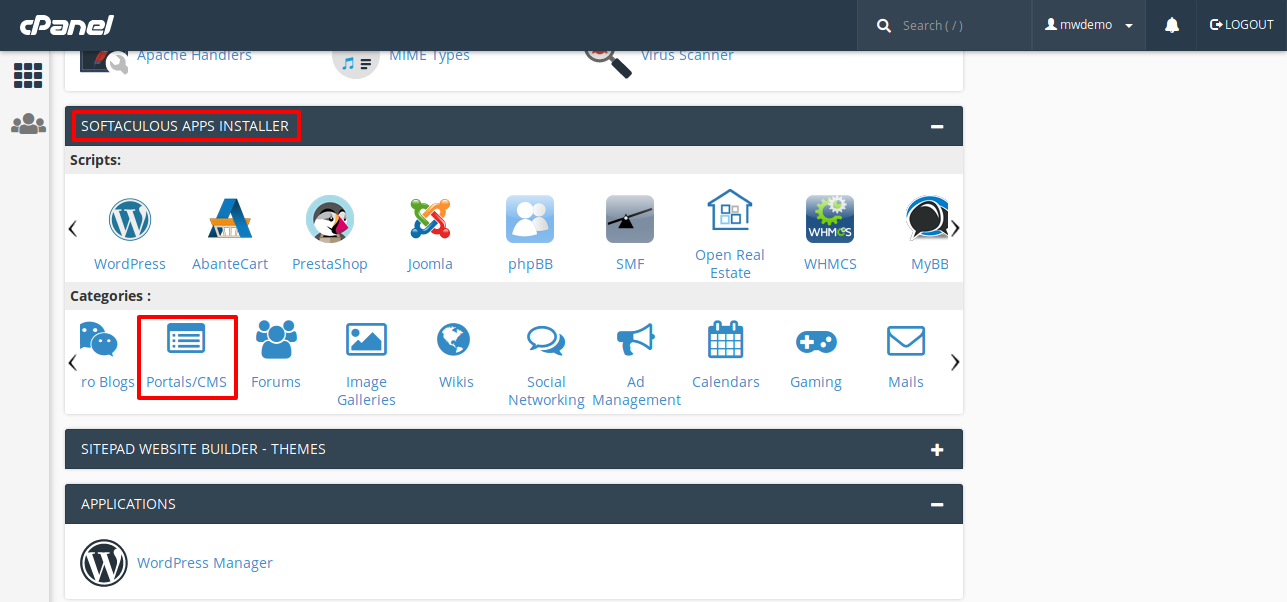
STEP 1: Login to your “cPanel” account.
STEP 2: In the section – “Softaculous Apps Installer” present on the cPanel home screen, click on any of the options present under “Categories“.
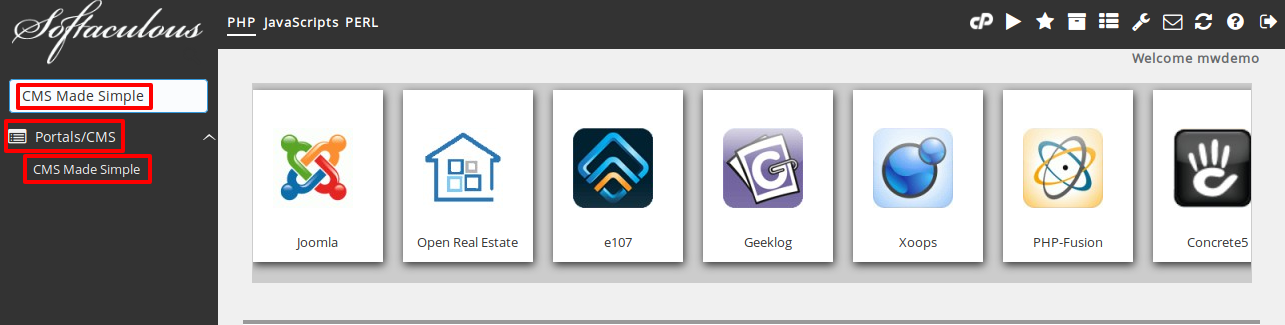
STEP 3: The Softaculous Installer page will appear.
STEP 4: In the “Search” box, type “CMS Made Simple” and press Enter. You can also use the navigation panel present on the left hand side for doing this – Click on “Portals/CMS” and then click on “CMS Made Simple“.
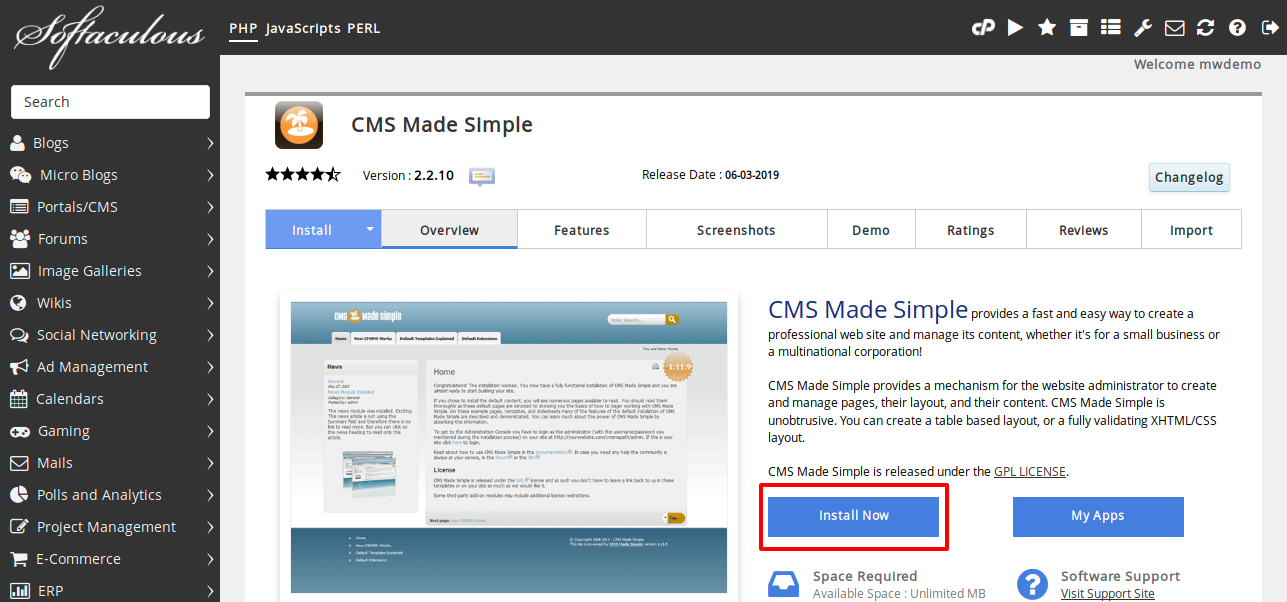
STEP 5: Click on “Install Now” button and the installation process will be displayed.
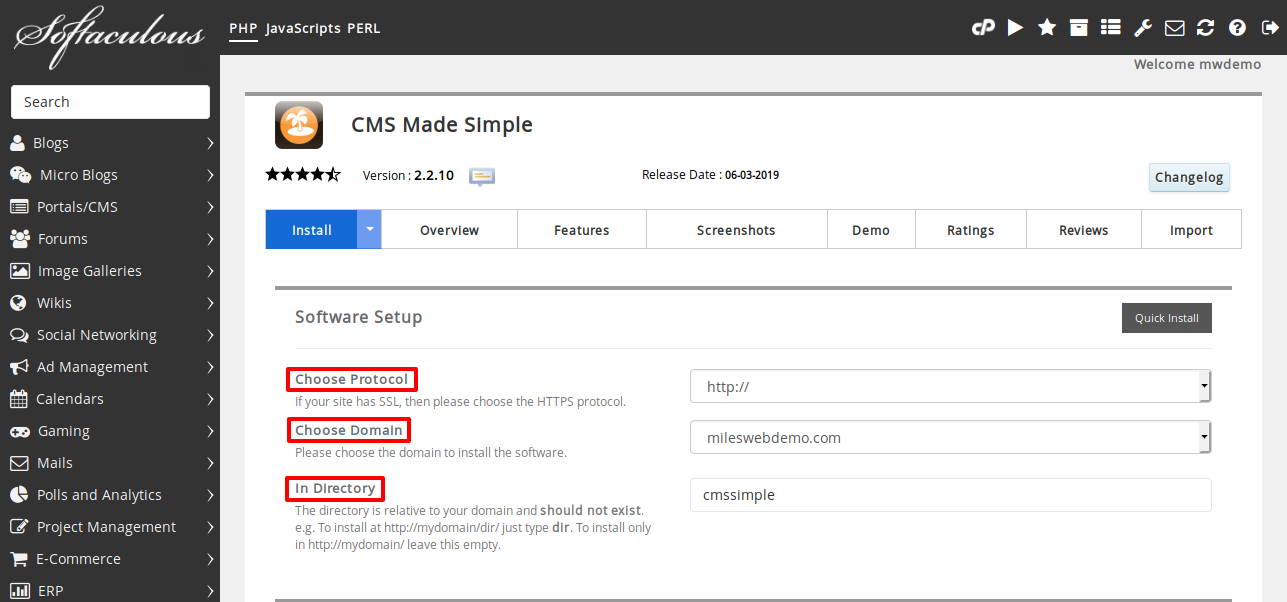
STEP 6: Select the “Protocol” from the “Choose Protocol” list box. (In case you have an SSL certificate on your website, select – “https://” or “https://www.” and if you do not have an SSL certificate on your website, select – “http://” or “http://www.”
STEP 7: From the “Choose Domain” section, select the domain for which you wish to install CMS Made Simple or accept the default value.
STEP 8: Enter the directory where you want to install this CMS in the “In Directory” text box or accept the default value.
STEP 9: In the “Site Name” section, enter the website name. The website name is displayed in the title bar of the user’s web browser by default when the user visits your website.
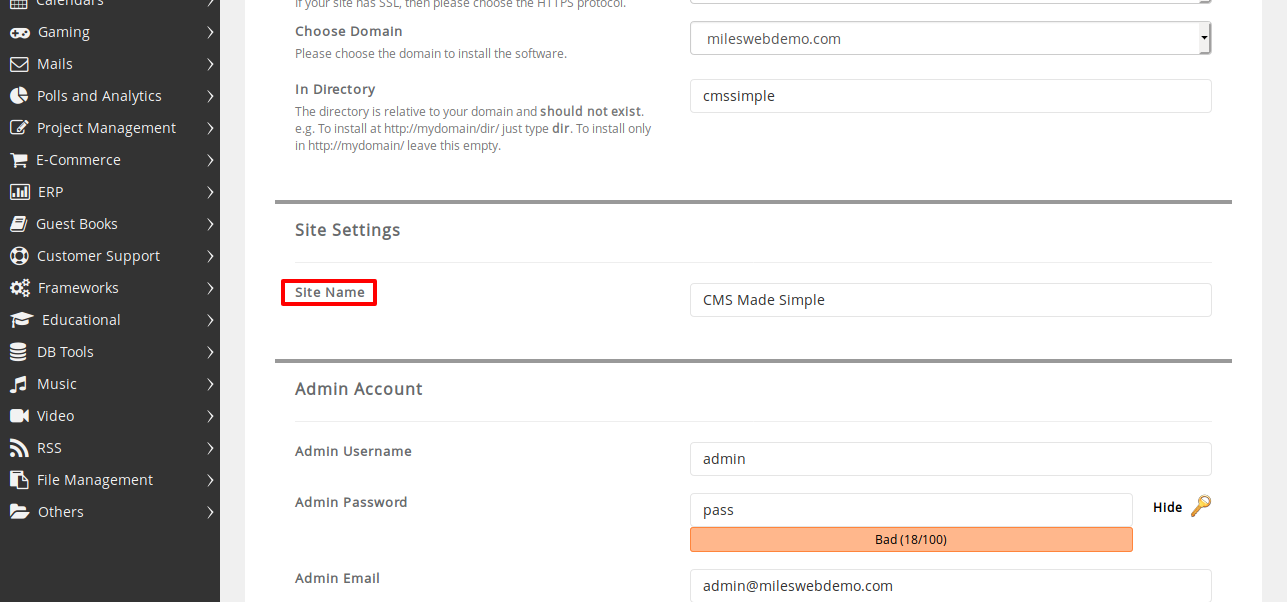
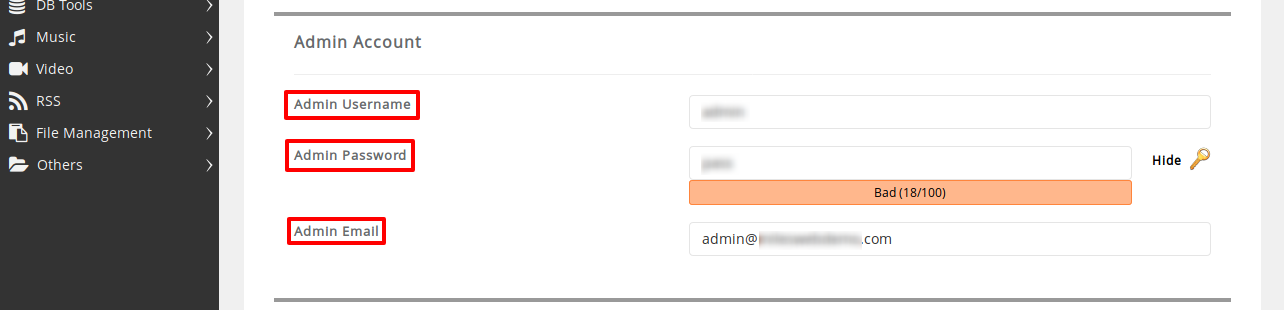
STEP 10: Enter the administrator username in the “Admin Username” field.
STEP 11: Enter the administrator password in the “Admin Password” field.
STEP 12: In the “Admin Email” field, enter the email address of the website administrator.
STEP 13: From the “Select Language” list box, select the default language for the application.

STEP 14: Click on the “+” icon for expanding the Advanced Options.
![]()
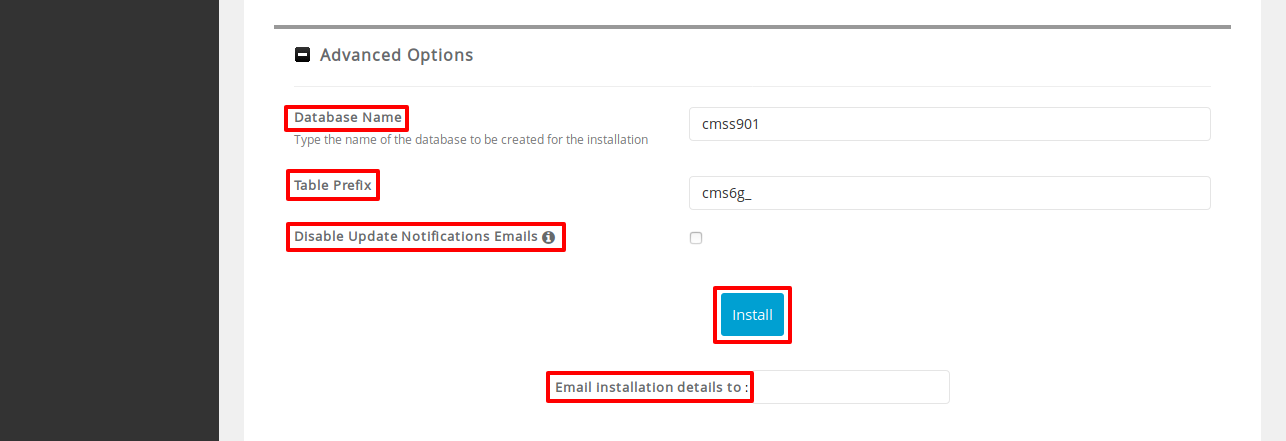
STEP 15: In the “Database Name” section, enter the name of the database that has to be created for the application or accept the default value.
STEP 16: In the “Table Prefix” section, enter the database table prefix or accept the default value.
STEP 17: If you don’t want to receive any email notifications when the application updates are available, then click on the “Disable Update Notifications” check box.
STEP 18: In order to receive the website configuration information once the installation process is complete, enter an email address in the field “Email installation details to“.
STEP 19: Go through the installation options and settings once again and if everything looks good, click on “Install“.
After the installation process is complete, Softaculous will provide you complete information about the configuration of the application.


