
This article will guide you on how to configure WordPress to use a temporary URL. You may want to use a temporary URL when you wish to migrate your site from other providers to MilesWeb server and test it prior to pointing the domain name to your account hosted on our servers. Therefore, we advise you to test a WordPress installation on a new domain before you update the domain’s DNS records.
Configure WordPress to use a temporary URL
When you install a brand-new WordPress site or move your current WordPress site to a new domain, you will probably need to test it before you update the domain name’s DNS and make the site live for your audience. Do this by following the below steps :
1) Log in to cPanel.
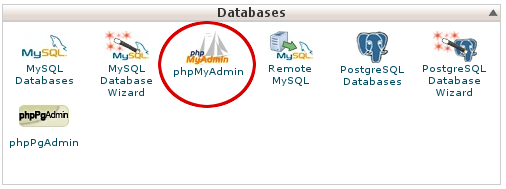
2) On the cPanel home screen, there is a Databases section, under it click on phpMyAdmin.
3) To the left hand of the phpMyAdmin panel, click on the WordPress database. A list of tables in the database will appear as below :
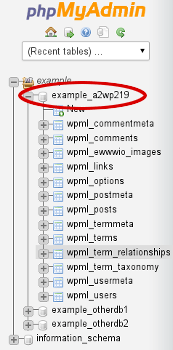
where username stands for your cPanel username and XXX is a three digit number.
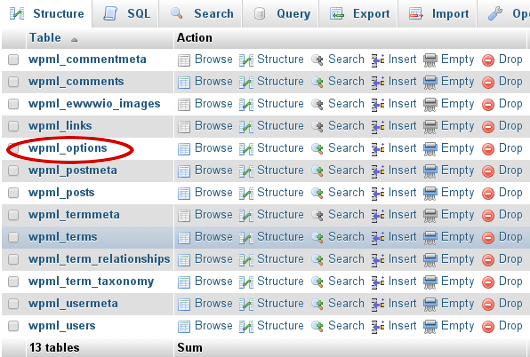
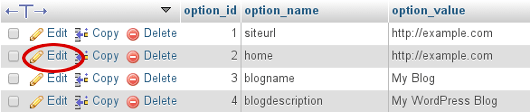
4) Under the Structure section, go to Table heading. Under it click the wpml_options table. You will see a list of data rows appeared.
5) Go to the option_name heading, locate siteurl and then click Edit.
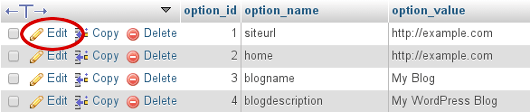
6) Now in the option_value text box, replace the current URL mentioned there with your URL that you want to use for the testing purpose.
7) Click on GO, so that phpMyAdmin will save the changes performed to the table.
8) Now locate home under the option_name column and then click on Edit.
9) Again in the option_value text box, replace your current URL with your URL that you want to use for testing purpose.
10) Click on GO, so that again phpMyAdmin will save the changes in the table. WordPress should now work correctly with your URL.
Want to restore the original WordPress URL?
Follow the below steps to do so :
When you are done using your shared URL for the testing purpose and are satisfied with the work, or want to perform some more changes then you can easily update the WordPress URL with the site’s actual URL (domain name). Instead of manually performing this operation from phpMyAdmin, you can do this from the WordPress administration interface, with the following steps.
1. Log in to your WordPress as the administrator.
2. Expand the Dashboard option, and go to Settings. Under it, click on General.
3. In the General Settings window, go to WordPress Address (URL) text box, and insert the URL using the site’s domain name :
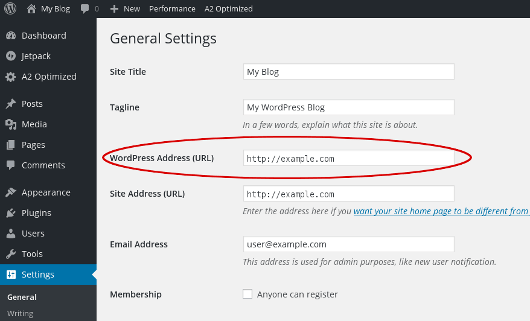
4. Click on Save Changes. WordPress now will function correctly using the site’s domain name.
Also Read :


