
cPanel’s Application Manager transforms the process of deploying Node.js on shared hosting. This guide will help you to transform the process into a seamless experience, enabling web hosts to offer professional Node.js hosting through an intuitive graphical interface.
Prerequisites: Enable Application Manager
Before cPanel users can host Node.js apps, administrators must activate this feature in WHM.
Step 1: Activate via Feature Manager
Log into WHM and navigate to Packages > Feature Manager.
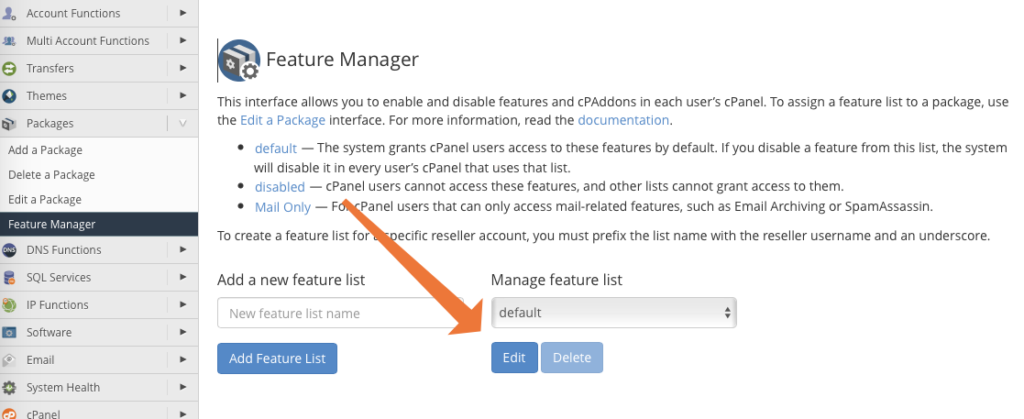
Select the Default feature list and click Edit.
Search for “Application Manager” and ensure that it’s checked.
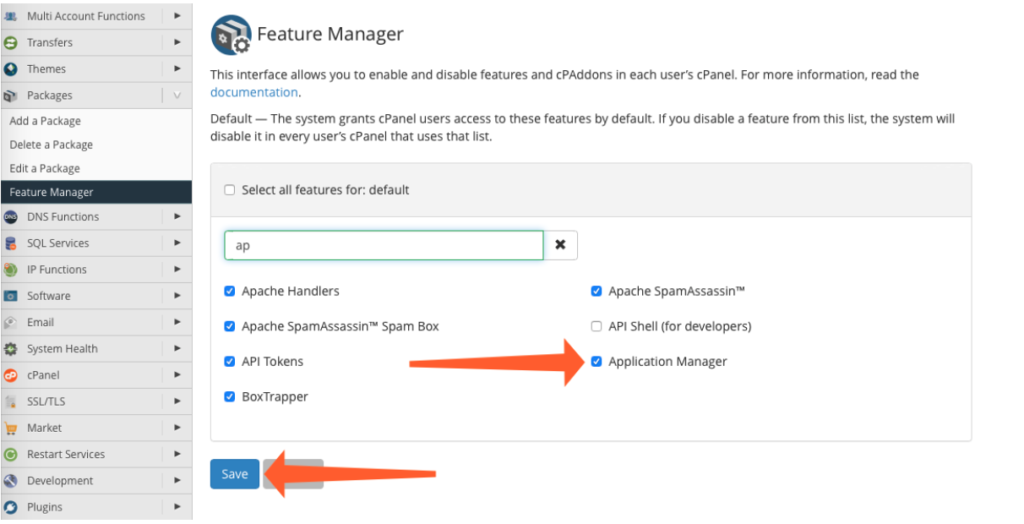
Click on Save.
Step 2: Install Required Packages
Connect via SSH as root and run:
yum install ea-ruby24-mod_passenger ea-apache24-mod_env ea-nodejs10This installs Passenger (app server), environment modules, and Node.js runtime.
Build Your First Node.js Application
Create the app files via SSH (as cPanel user):
mkdir ~/nodejsapp

cd ~/nodejsapp

Create app.js (cPanel expects this filename):

javascript

const http = require('http');

const hostname = '127.0.0.1';

const port = 3000;

const server = http.createServer((req, res) => {

  res.statusCode = 200;

  res.setHeader('Content-Type', 'text/plain');

  res.end('Hello World! I am your new NodeJS app!\n');

});

server.listen(port, hostname, () => {

  console.log(`Server running at http://${hostname}:${port}/`);

});
Test locally:
/opt/cpanel/ea-nodejs10/bin/node app.js

Verify with: curl http://127.0.0.1:3000
Register and Deploy Your Application
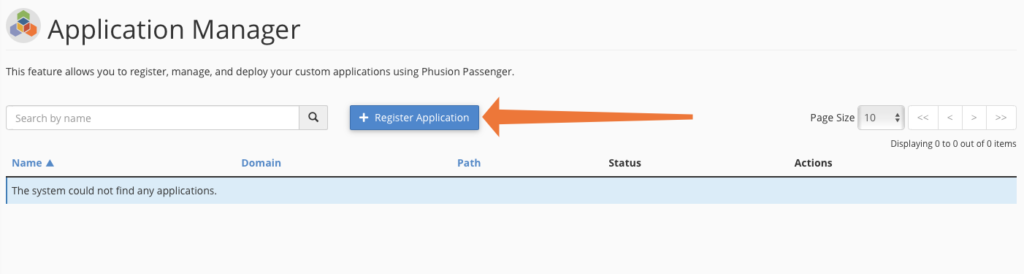
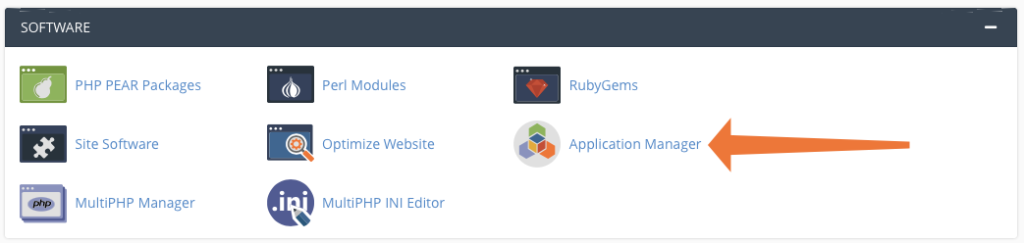
Navigate to Software > Application Manager in your cPanel dashboard.

Click Register Application to enter your app’s details, such as the deployment domain and application path.
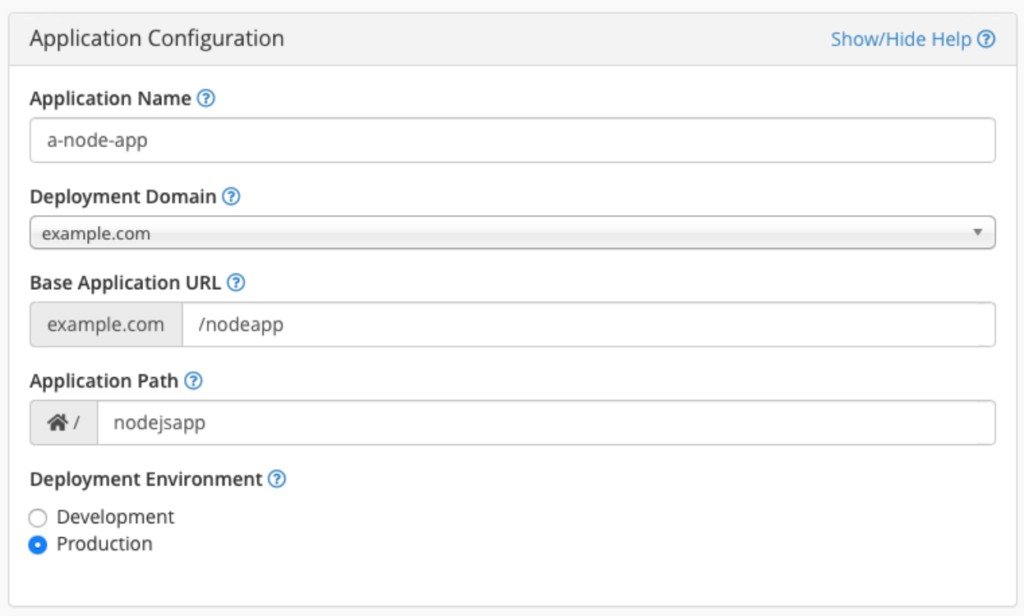
Complete the Application Configuration:
Click Deploy to finalize the setup and make your application live.
Managing Dependencies
cPanel makes dependency installation easy for applications using a package.json file.
Example package.json:
json
{
"name": "nodejsapp",
"version": "1.0.0",
"main": "app.js",
"dependencies": {
"express": "^4.17.1"
}
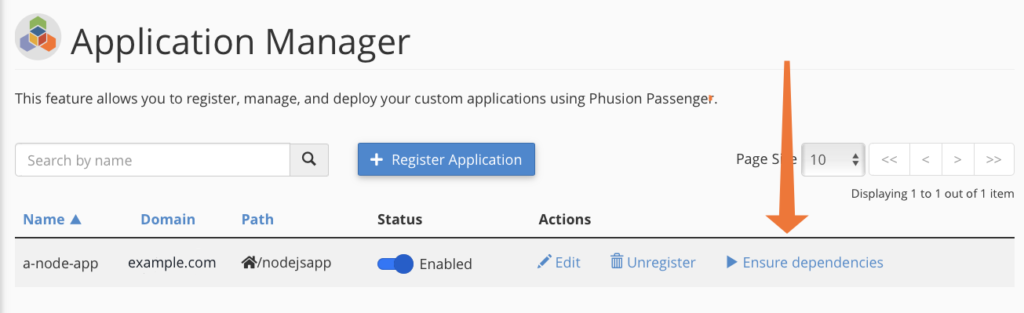
}Navigate to your registered app in the Application Manager.
Click Ensure Dependencies to trigger an automatic installation of all packages listed in your package.json.
Dynamic Configuration with Environment Variables
Make your app production-ready by using environment variables:
Update app.js:
javascript

const port = process.env.PORT || 3000;
Add variables in Application Manager
Using environment variables ensures your application remains production-ready and scalable.
In the Application Manager, click Edit next to your registered application.
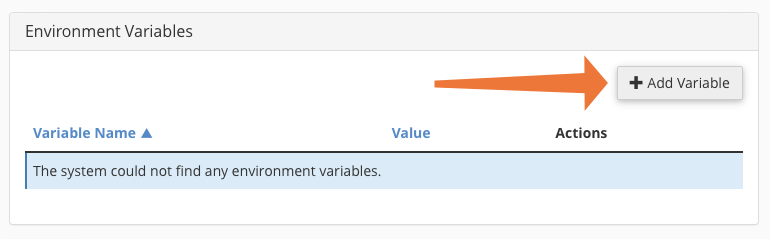
Scroll to the Environment Variables section and click Add Variable
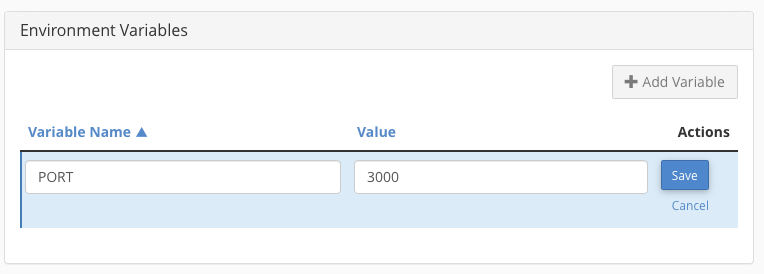
Define your variables (e.g., PORT=3000) and click Save.
This approach ensures that the Passenger assigns optimal ports automatically.
Editing and Uninstalling
Editing Node.js Application
You can modify or remove your application at any time without impacting your core data.
What you can modify:
- Application Name
- Deployment Domain
- Base Application URL
- Application Path
- Deployment Environment (Dev/Prod)
- All Environment Variables
Steps:
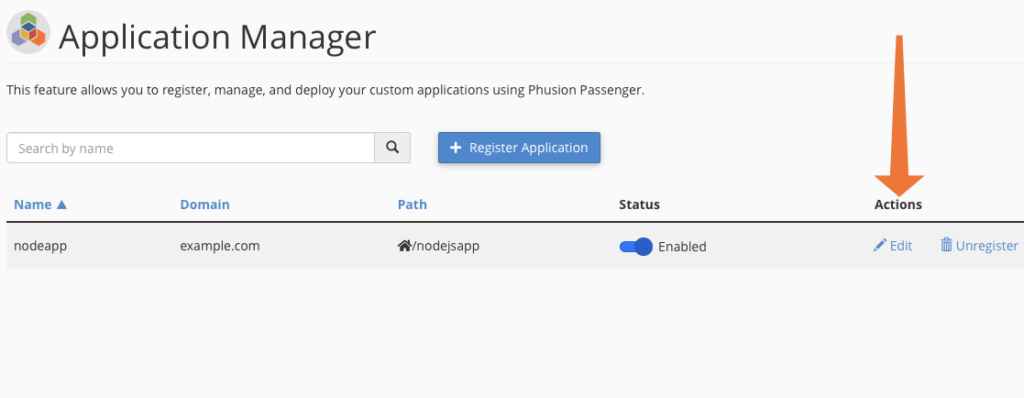
- Locate your app: In the Application Manager interface, scan the table for the specific application you want to modify.
- Open the editor: Click the Edit link found within the Actions column for your application.
- Modify settings: A new interface will load where you can update key configuration details, such as the application path, domain, deployment environment (development or production), or environment variables.
- Save and deploy: After updating the necessary fields, click Save (often labeled as Deploy in the updated interface) to commit your changes.
Uninstalling Your Node.js Application
The “Unregister” feature in cPanel acts as a formal disconnect between your directory and the server’s application process management.
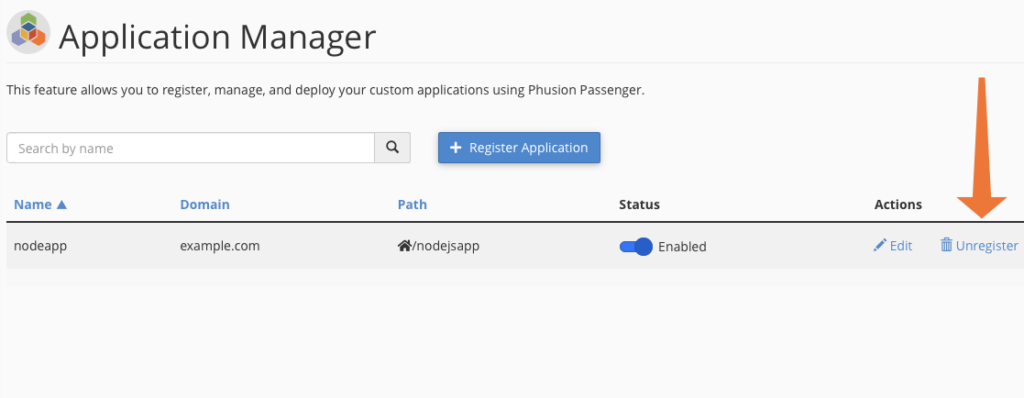
- Locate the Application: Within the Application Manager dashboard, scan the table to identify the specific application you wish to remove.
- Initiate Removal: Locate the Actions column corresponding to that app, click the dropdown menu, and select Unregister.
- Confirm the Action: A pop-up dialog will appear asking for confirmation to ensure you intended to stop the service; verify and proceed.
- Instant Deactivation: Once confirmed, the system immediately halts the application’s processes and removes its entry from the manager.


